
Mastering Glitch Transitions in Adobe After Effects: A Comprehensive Guide
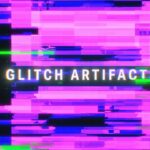
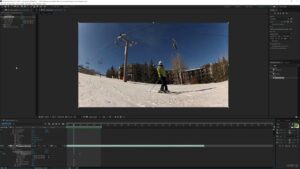
Introduction: Glitch transitions are a popular visual effect used in video editing and motion graphics to create dynamic and edgy...
 Mastering Glitch Transitions in Adobe After Effects: A Comprehensive Guide
 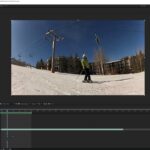 Mastering the CC Glass Effect in Adobe After Effects: A Comprehensive Guide
  Mastering Retro Animation in Adobe After Effects: A Comprehensive Guide
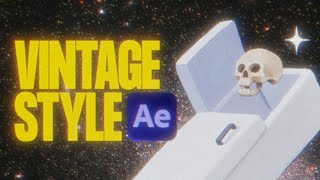
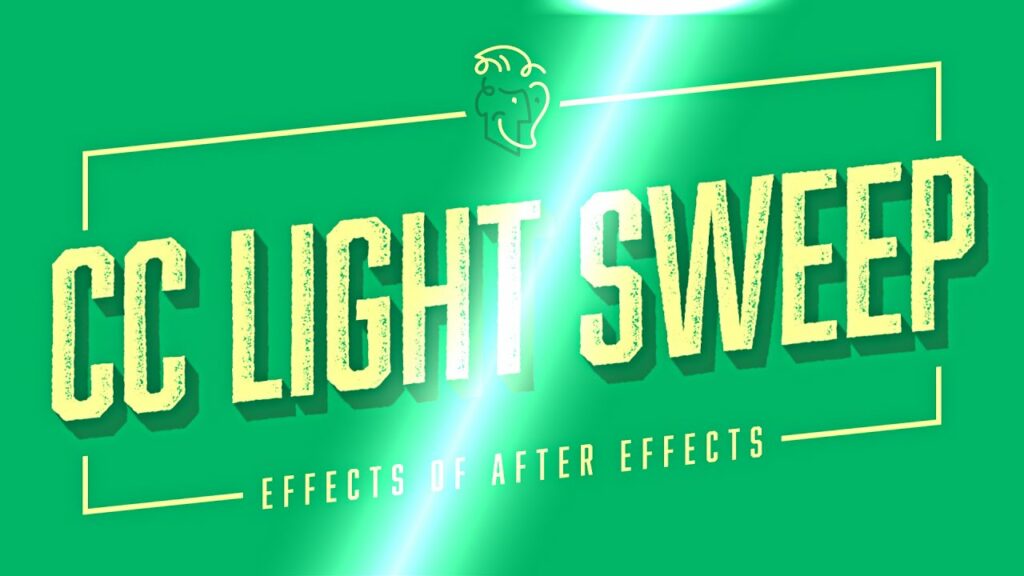
  Mastering the CC Light Sweep Effect in Adobe After Effects: A Comprehensive Guide
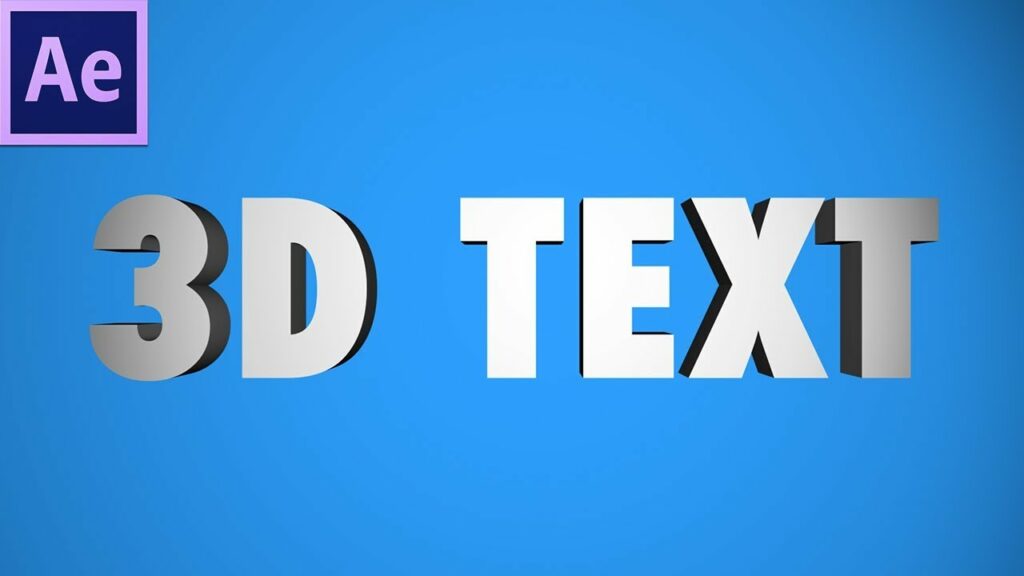
  Mastering 3D Text Animation in Adobe After Effects: A Comprehensive Tutorial
 Introduction: Glitch transitions are a popular visual effect used in video editing and motion graphics to create dynamic and edgy...
Introduction: The CC Glass effect in Adobe After Effects is a powerful tool that allows users to create realistic glass...
Introduction: Retro animation holds a timeless appeal, evoking nostalgia for bygone eras while infusing a sense of charm and creativity...
Introduction: The CC Light Sweep effect in Adobe After Effects is a versatile tool that allows users to add dynamic...
Introduction: Creating 3D text animation in Adobe After Effects allows you to add depth, dimensionality, and visual interest to your...
Introduction: Efficiency is the cornerstone of productivity in any creative endeavor, and mastering keyboard shortcuts is a surefire way to...