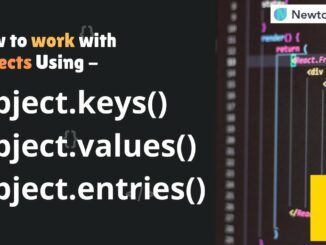
How to Work with Objects in javascript
JavaScript is an object-oriented programming language where objects play a central role. Understanding how to work with objects effectively is essential for any JavaScript developer. […]
JavaScript is an object-oriented programming language where objects play a central role. Understanding how to work with objects effectively is essential for any JavaScript developer. […]
Arrow functions, introduced in ECMAScript 6 (ES6), are a concise way to write function expressions in JavaScript. They offer a shorter syntax compared to traditional […]
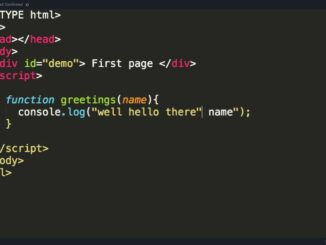
Functions are a fundamental concept in JavaScript and many other programming languages. They allow you to encapsulate code into reusable blocks, which helps in making […]
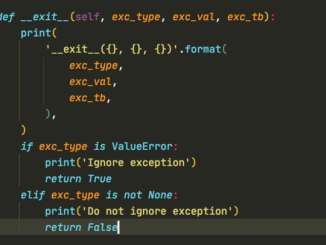
Understanding Context Managers A context manager is a Python object that defines a runtime context for a block of code. It ensures that specific actions […]
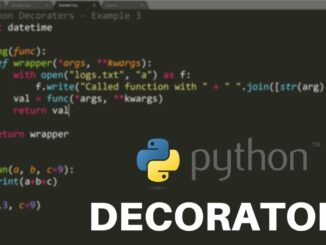
Understanding Decorators A decorator is a callable Python object that takes another function as its argument and returns a new function. It’s a powerful tool […]
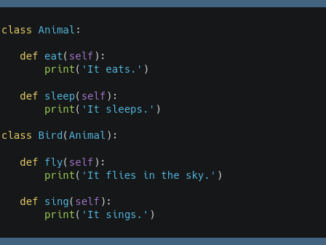
Understanding Inheritance Inheritance is a fundamental concept in object-oriented programming (OOP) that allows you to create new classes (subclasses or derived classes) based on existing […]
Copyright © 2026 | WordPress Theme by MH Themes