Categories
Windows 10

Disabling the Lock Screen in Windows 10

Windows 10 is the latest Windows operating system which has enhanced the user experience to a great degree. Now in Windows 10 whenever your computer boots or wakes from sleep you need to click with your mouse button or need to swipre up on touch screens for making the lock-screen disappear before you access the login prompt. Now you can easily save your time as well as click simply by disabling the lock screen and then going straight into the login screen in Windows 10.You can also learn about How to Delete Locked File in Windows 10. For disabling the lock screen you need to follow these simple steps.

  • 1st of all you are required to open the registry editor for that press Ctrl+R and then type regedit into the prompt and then press Enter. Click on Yes if you receive a warning from User Account Control.
  • Now navigate to HKEY_LOCAL_MACHINE\SOFTWARE\Policies\Microsoft\Windows by opening different folders in the tree.
  • Now is the time to create a new registry key which is known as Personalization if does not exist already. (For creating the key you need to right click in the right pane and then select Key from the menu and rename the key to Personalization.)
  • Now navigate the Personalization key.
  • Now right click in the right pane and the select New and then DWORD Value.
  • Now name the new value “NoLockScreen.”
  • Now set NoLockScreen to 1 by simply double clicking on its name by entering the “1” in the Value data field and the pressing OK.
  • Once you go through these steps you will get rid of the lock screen upon next reboot. Now if you want to re-enable it all you need to do is to change the registry setting from 1 to 0.
Categories
Windows 10

Controlling Windows 10 with Your Voice

In order to perform the tasks quickly and instantly you can use the voice control. Windows 10 has got built-in voice controls for some of the mostly used applications and features like Cortana which will let you search for apps or let you get answer to different questions easily. In this tutorial you will learn how to control Windows 10 with your voice. You can also learn about How to Insert, Copy and Delete Slides in MS PowerPoint XP.

  • 1st of all you need to type Windows Speech into the Cortana search bar and then tap Windows Speech Recognition for opening it.
  • Now you need to click on Next in the pop-up window in order to get things started.
  • Now select your microphone and then press Next and of you are looking for best results use a microphone or headset.
  • Now you need to follow the onscreen instructions for microphone placement and then press Next once you are ready.
  • Now read the on-screen prompt to calibrate the microphone and then press Next.
  • Select whether to let your computer to review documents and e-mail to better understand you whenever you speak.
  • Now you have to select the activation mode. You can turn OFF the Speech Recognition when you say “Stop Listening” with voice activation mode. You can select to use key combination Ctrl+Windows for activation or de-activation of this service.
  • Now print the speech recognition card for accessing the commands easily.
  • Now select to run Speech Recognition at startup or you will have to manually enable it through the control panel.
  • Now finish the setup by watching the tutorial for understanding the Speech Recognition capabilities more effectively.
Categories
Windows 10

Enabling or Disabling Tablet Mode in Windows 10

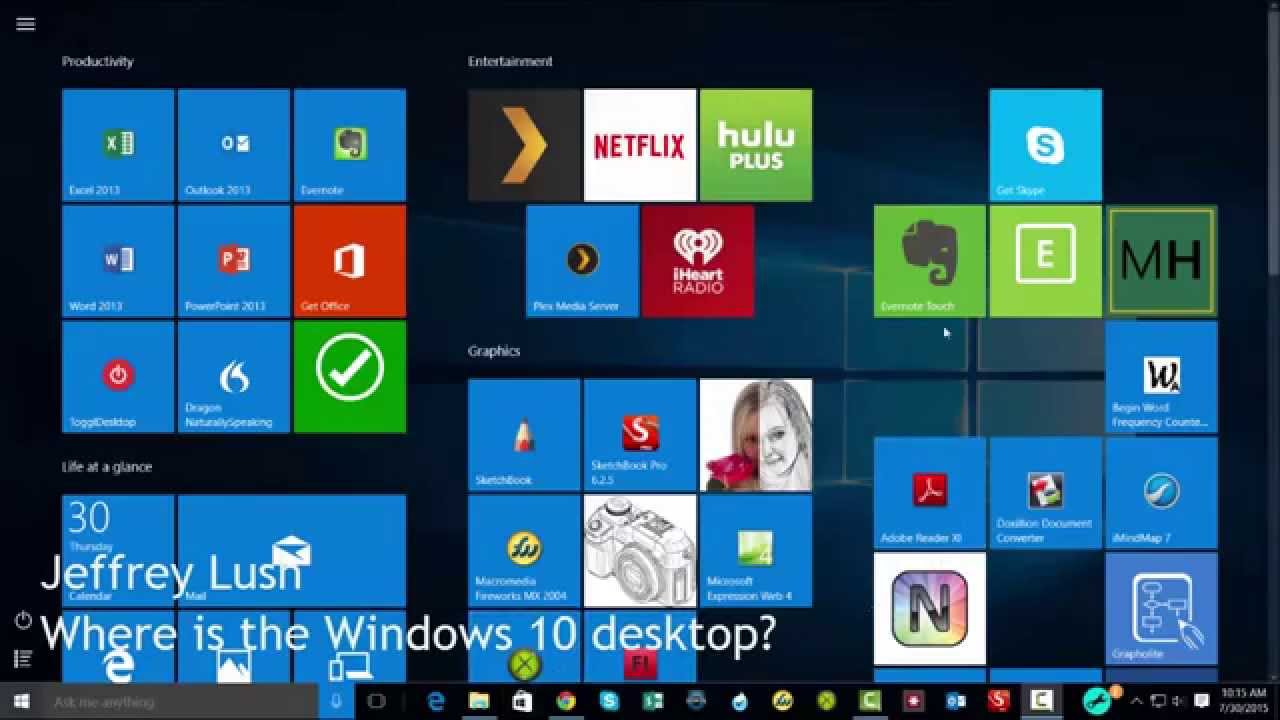
When Windows 8 was released the masses very very perplexed while finding out that there is no Start button. Windows 10 has tried to fix the problem to some extent with the introduction of full screen tablet mode which has relaxed angry people a bit. The Tablet mode provided by Windows 10 is quite touch friendly experience by making all of the applications to run at full screen and it also gives a Start screen in place of Start menu. Windows 10 always asksthe users to enter into tablet mode wnenver you are required to convert your notebook into a slate.You can also learn about How to Mount and Burn ISO Files in Windows 10.

For configuring the Tablet Mode you need perform these basic operations

  • 1st of all you need to go to the Tablet Mode tab from Setting>System.
  • Toggle the “make Windows more touch friendly” option ON or OFF.
  • Select the device switches its mode automatically, prompts you or never switches. For enabing/disabling Tablet mode in Windows 10 you need to follow these steps.
  • 1st of all you need to go to the Start menu and then click on Settings.
  • Now you need to click on System.
  • Select the Tablet Mode from the left pane and you will notice that a Tablet mode submenu will appear.
  • Toggle “Make Windows more touch friendly…” to ON for enabling Tablet mode.
  • Now go to the desktop mode and you need to toggle it OFF.
  • Select “Don’t ask me and always switch” from the “When this device automatically switches” menu.

With these steps you will be able to enable or disable Tablet mode in Windows 10.