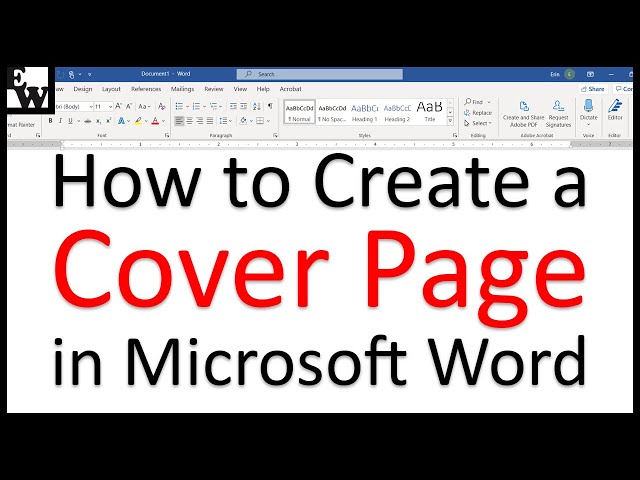
In the realm of document design, the cover page serves as the gateway to your content, offering a tantalizing preview of what lies within while setting the tone for the reader’s experience. Whether you’re creating a professional report, a scholarly thesis, or a captivating presentation, knowing how to design and insert an eye-catching cover page is essential for making a memorable first impression. In this extensive guide, we’ll explore the intricacies of inserting cover pages in Microsoft Word, empowering you to captivate your audience from the moment they lay eyes on your document.
Understanding the Significance of Cover Pages:
Before delving into the practical aspects of inserting cover pages, it’s crucial to recognize the significance of these introductory elements. Cover pages serve multiple purposes, including:
- Providing essential information such as the document title, author name, and date.
- Establishing the document’s identity and branding through the use of logos, images, and design elements.
- Setting the tone and expectations for the reader by conveying professionalism, creativity, or academic rigor.
By crafting a compelling cover page, you can pique the reader’s curiosity, instill confidence in your content, and lay the foundation for a positive reading experience.
Basic Cover Page Insertion:
Inserting a cover page in Microsoft Word is a straightforward process that can be accomplished using built-in templates or customized designs. Here’s how to do it:
- Navigate to the “Insert” Tab:
- Open Microsoft Word and navigate to the “Insert” tab located in the top menu bar.
- Access Cover Page Templates:
- In the “Insert” tab, click on the “Cover Page” button, which is typically located in the “Pages” group.
- Word offers a variety of pre-designed cover page templates to choose from. Hover your cursor over each template to preview it in real-time.
- Select a Cover Page Template:
- Browse through the available cover page templates and select the one that best suits your document’s purpose, style, and branding.
- Click on the desired cover page template to insert it into your document at the beginning, displacing any existing content.
- Customize the Cover Page:
- After inserting the cover page template, you can customize it to align with your specific requirements and preferences.
- Click inside the cover page to edit the placeholder text, replace images, adjust font styles, colors, and sizes, and add additional design elements as needed.
Advanced Cover Page Customization:
While the built-in cover page templates offer convenience and variety, Microsoft Word provides advanced customization options for users who wish to create bespoke cover pages from scratch or modify existing templates. Here are some additional features you may explore:
- Custom Cover Page Design:
- If none of the built-in templates suit your needs, you can design a custom cover page using Word’s drawing tools, shapes, text boxes, and images.
- To create a custom cover page, insert a blank page at the beginning of your document, then use the drawing tools and formatting options to design your cover page from scratch.
- Save and Reuse Cover Pages:
- Once you’ve designed a cover page that you’re satisfied with, you can save it as a reusable template for future use.
- To save a cover page as a template, select all the elements on the cover page, right-click, and choose “Save as Picture.” Save the image file to your computer, then insert it as an image on future cover pages.
- Section Breaks and Headers:
- If you want the cover page to have a different header or formatting from the rest of the document, you can insert a section break after the cover page and customize the header for each section separately.
Best Practices for Cover Page Design:
While cover pages offer versatility and creativity in document introduction, it’s essential to adhere to best practices to ensure that your cover page effectively conveys the desired message and branding. Here are some tips to consider:
- Keep it Simple and Professional:
- Avoid cluttering the cover page with excessive text, images, or design elements. Keep the layout clean, balanced, and professional to maintain readability and visual appeal.
- Align with Branding Guidelines:
- If the document represents a company, organization, or academic institution, ensure that the cover page design aligns with branding guidelines, including logo usage, color schemes, and typography.
- Balance Text and Images:
- Strike a balance between text and images on the cover page to create visual interest while conveying essential information. Use high-quality images and concise, impactful text to capture the reader’s attention.
- Proofread and Review:
- Before finalizing the cover page, proofread the text for accuracy, grammar, and spelling errors. Additionally, review the design and layout to ensure that it meets your expectations and effectively communicates the intended message.
Conclusion:
Inserting a cover page in Microsoft Word is a crucial step in document creation, serving as the gateway to your content and setting the stage for a memorable reading experience. By mastering the basic insertion process, exploring advanced customization options, and adhering to best practices for cover page design, you can create captivating introductions that captivate your audience and convey professionalism, creativity, and credibility. Whether you’re preparing reports, presentations, proposals, or academic papers, a well-designed cover page sets the tone for success and invites readers to engage with your content. So, the next time you embark on a document creation journey in Word, remember to harness the power of cover pages to make a lasting impression that resonates with your audience.