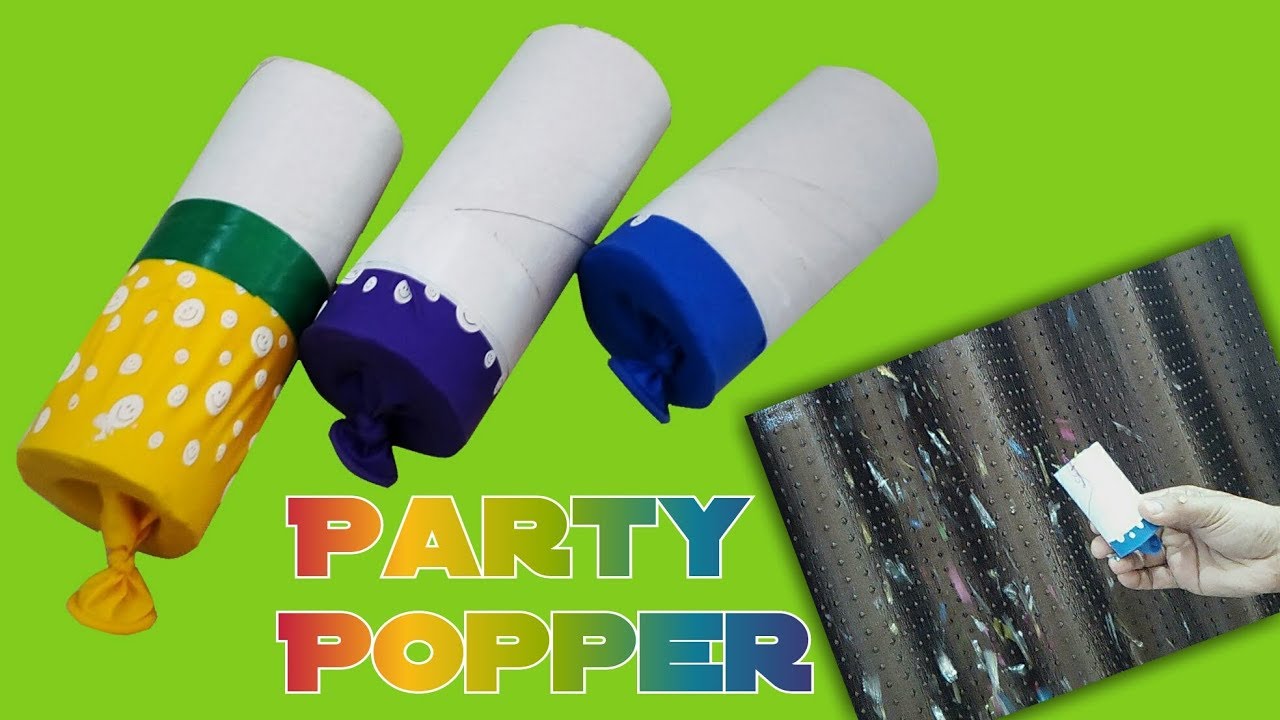
Introduction:
When it comes to adding a festive touch to celebrations, party poppers are a classic choice. They bring an element of surprise and joy to any gathering, making them perfect for birthdays, weddings, or any special occasion. What if you could enhance the fun by creating your very own DIY party poppers using just cardboard paper? In this comprehensive guide, we’ll take you through a step-by-step process to craft these delightful party accessories. Get ready to add a personalized and eco-friendly twist to your celebrations with these DIY party poppers that are not only easy to make but also a fantastic way to upcycle cardboard paper.
Materials Needed:
Before diving into the crafting process, gather the following materials:
- Cardboard paper (colored or patterned for a vibrant look)
- Scissors
- Glue or double-sided tape
- String or ribbon
- Tissue paper or crepe paper
- Small treats or confetti for filling
- Decorative stickers or markers (optional)
Step 1: Gather and Cut Cardboard Paper
Start by selecting the cardboard paper you want to use for your DIY party poppers. Choose colors that match the theme of your celebration. Lay the cardboard paper on a flat surface and use scissors to cut rectangles of approximately 8 inches by 4 inches.
Step 2: Forming the Cylinder Shape
Take one of the cut cardboard rectangles and roll it tightly into a cylinder shape. Ensure that the length of the cylinder is about 4 inches. Use glue or double-sided tape to secure the edge and hold the cylinder in place.
Step 3: Sealing the Bottom
To create the base of the party popper, pinch one end of the cylinder together, forming a flat surface. Seal the bottom by gluing or taping the pinched ends together. This creates a closed bottom for the party popper.
Step 4: Filling with Treats or Confetti
With the bottom sealed, it’s time to add the element of surprise. Fill the open end of the cylinder with small treats, confetti, or a combination of both. Be creative with your choices to enhance the excitement when the party poppers are popped.
Step 5: Creating the Popping Mechanism
Now, it’s time to craft the popping mechanism that will release the treats or confetti when the party popper is pulled. Cut a piece of string or ribbon to about 8 inches in length. Place the string or ribbon inside the cylinder, ensuring that one end is securely attached to the treats or confetti.
Step 6: Sealing the Top
To complete the DIY party popper, seal the open end of the cylinder by pinching it together and using glue or double-sided tape to secure it. Make sure the string or ribbon is protruding from the sealed end.
Step 7: Decorating the Party Popper (Optional)
Enhance the visual appeal of your DIY party poppers by adding decorative elements. Use markers, stickers, or additional strips of colored cardboard paper to personalize each popper according to the theme of your celebration. This step adds a creative touch to your handmade party accessories.
Step 8: Creating the Fringed Top (Optional)
For an extra festive look, consider adding a fringed top to your DIY party poppers. Cut strips of tissue paper or crepe paper and attach them to the sealed end of the popper using glue or double-sided tape. The fringed top adds a playful and decorative element to your handmade creations.
Step 9: Testing Your DIY Party Poppers
Before the big reveal at your celebration, it’s a good idea to test your DIY party poppers to ensure they work smoothly. Hold the sealed end with one hand and pull the string or ribbon with the other, releasing the treats or confetti with a delightful pop. Make any necessary adjustments to the string length or sealing to perfect the popping mechanism.
Step 10: Display and Distribute at Your Celebration
Now that your DIY party poppers are ready, display them in a decorative arrangement or hand them out to guests at your celebration. These handmade creations will not only add a touch of whimsy to your event but also serve as unique and memorable party favors.
Conclusion:
Crafting DIY party poppers using cardboard paper is a delightful and eco-friendly way to enhance the joy and surprise of any celebration. With a few simple materials and easy-to-follow steps, you can create personalized party accessories that bring a handmade touch to your special occasions. Whether it’s a birthday party, a wedding celebration, or a festive gathering, these DIY party poppers are sure to be a hit, leaving lasting memories of fun and creativity. Get ready to pop, celebrate, and spread the joy with your handmade party accessories!