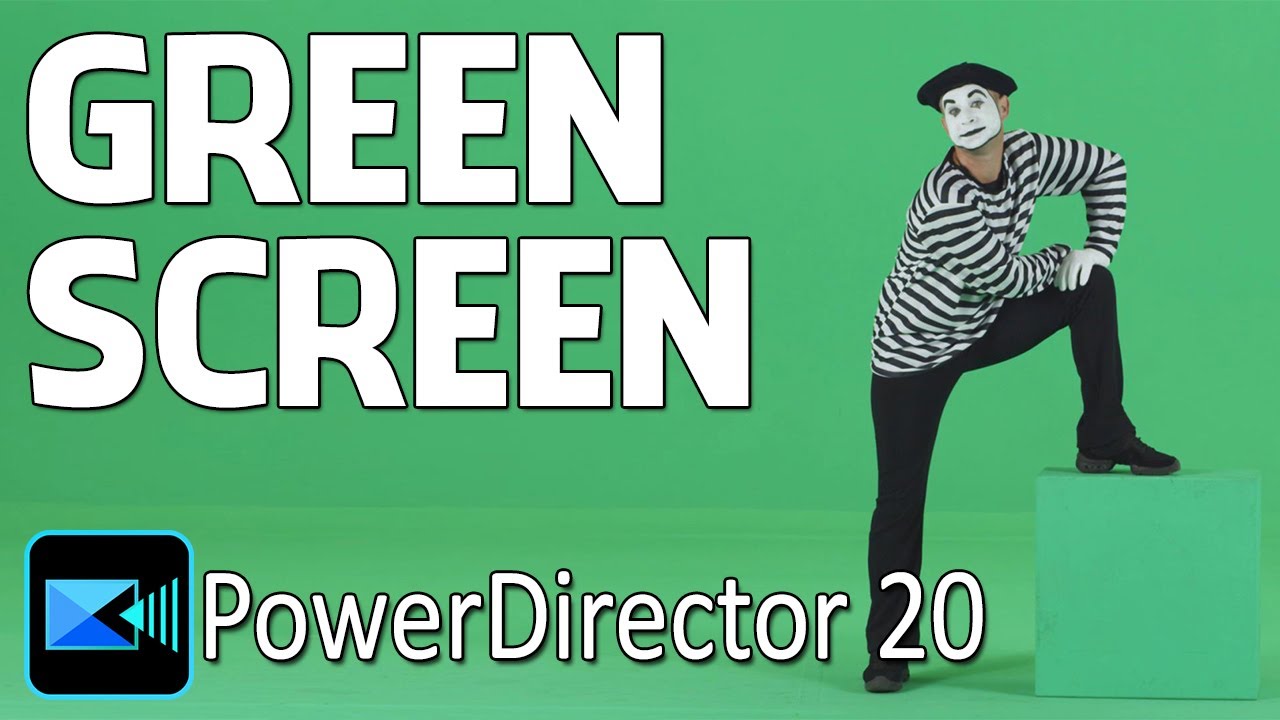
Creating a green screen effect, also known as chroma keying, in PowerDirector allows you to replace a solid colored background (typically green or blue) with another image or video clip, enabling creative visual compositions and enhancing storytelling in your videos. PowerDirector, developed by CyberLink, offers robust tools for chroma keying that provide flexibility in adjusting key settings such as tolerance, edge feathering, and spill suppression. This comprehensive guide will walk you through everything you need to know about creating a green screen effect in PowerDirector, covering setup, keying techniques, customization options, troubleshooting tips, and more.
Understanding Green Screen (Chroma Key) Effects
Green screen (chroma key) technology is used to replace a specific color in a video (green or blue) with another image or video clip. Key aspects of green screen effects include:
- Background Replacement: Removing and replacing the green screen background with a new image or video.
- Keying Controls: Adjusting tolerance, edge feathering, and spill suppression settings for precise keying.
- Layering: Overlaying foreground elements (actors, objects) onto new backgrounds for visual effects.
Green screen effects are widely used in filmmaking, video production, and content creation to transport subjects to virtual or fantasy environments seamlessly.
Getting Started with Green Screen Effects in PowerDirector
Setting Up Your Green Screen
- Backdrop: Set up a green screen backdrop behind your subject (e.g., a green cloth, paper, or painted wall).
- Lighting: Ensure even lighting on the green screen to minimize shadows and inconsistencies.
Importing Media
- Open PowerDirector: Launch PowerDirector and create a new project or open an existing one.
- Import Media Files: Import your video footage (with green screen background) and the replacement background image or video into the Media Room.
Adding Footage to Timeline
- Main Video: Drag your video clip with the green screen background from the Media Room to the timeline.
- Background Clip: Drag your replacement background image or video onto a separate video track below the main video clip.
Understanding the Chroma Keying Workspace
- Chroma Key Tools: Click on “Fix/Enhance” in the editing workspace to access chroma keying tools.
Basic Chroma Keying Techniques
Applying Chroma Key Effect
- Select Main Video: Click on your main video clip in the timeline to select it.
- Chroma Key Settings:
- Click on “Fix/Enhance” > “Chroma Key.”
- Use the color picker or sliders to select the green screen color (adjust tolerance as needed).
Adjusting Tolerance and Edge Feathering
- Tolerance: Adjust tolerance settings to fine-tune color removal and edge transparency.
- Edge Feathering: Increase edge feathering to smooth transitions between foreground and background.
Spill Suppression
- Spill Removal: Use spill suppression settings to eliminate green spill reflections on the subject.
- Color Balance: Adjust color balance to correct any remaining color casts from the green screen.
Advanced Chroma Keying Techniques
Fine-Tuning Key Settings
- Keyframe Animation: Use keyframes to animate changes in key settings (e.g., tolerance, color balance) over time.
- Manual Adjustments: Make manual adjustments to refine keying results for complex scenes or dynamic lighting conditions.
Multiple Keying Layers
- Layering Effects: Apply multiple chroma key effects to create layered compositions with foreground and background elements.
- Masking Tools: Use masking tools to isolate and refine keying adjustments on specific areas of the video clip.
Color Matching
- Background Integration: Match colors and lighting between foreground subjects and replacement backgrounds for seamless integration.
- Visual Effects: Apply effects like shadows or reflections to enhance realism and depth in chroma keyed compositions.
Tips for Effective Chroma Keying
Lighting and Setup
- Even Lighting: Ensure uniform lighting on the green screen to minimize shadows and color variations.
- Distance: Position subjects at a sufficient distance from the green screen to prevent spill and improve keying accuracy.
Quality Control
- Preview: Playback your video to review chroma keying results and adjust settings for optimal visual quality.
- Feedback: Seek feedback from others to identify any inconsistencies or artifacts in chroma keyed compositions.
Keying Challenges
- Hair and Fine Details: Use fine detail controls and masking techniques to preserve hair and intricate details in chroma keyed subjects.
- Reflections and Transparency: Address reflections and transparent elements (e.g., glass) separately for accurate keying results.
Test Playback
- Export Testing: Export test clips to review chroma keying performance on different playback devices and screens.
- Resolution: Match export resolution with original video quality to maintain chroma keying integrity in final video outputs.
Troubleshooting Chroma Keying Issues
Artifacts and Spill
- Artifact Removal: Identify and remove artifacts such as green spill or jagged edges using edge refinement tools.
- Edge Cleanup: Fine-tune edge settings to achieve clean, natural transitions between foreground and background.
Inconsistent Lighting
- Lighting Adjustment: Adjust lighting conditions or apply additional lighting to minimize shadows and improve keying accuracy.
- Background Replacement: Consider alternative background images or videos if keying difficulties persist with the original replacement.
Performance Optimization
- Processing Load: Manage processing load by adjusting playback resolution or using proxy files during chroma keying editing.
- Rendering Settings: Optimize render settings to maintain chroma keying quality in final video exports and presentations.
Conclusion
Mastering the green screen effect (chroma keying) in PowerDirector allows you to create dynamic and visually compelling video compositions with seamless background replacement and layered visual effects. By following the tools and techniques outlined in this guide, you can effectively integrate subjects into new environments, enhance storytelling with creative backgrounds, and produce professional-quality videos that captivate and engage your audience. Whether for educational videos, virtual presentations, or creative projects, PowerDirector’s versatile chroma keying tools empower you to explore limitless visual possibilities, experiment with layered compositions, and unleash your creativity to craft impactful videos enriched with vibrant, immersive backgrounds. Experiment with different keying settings, leverage advanced editing options, and refine your chroma keying skills to produce polished videos that leave a lasting impression.