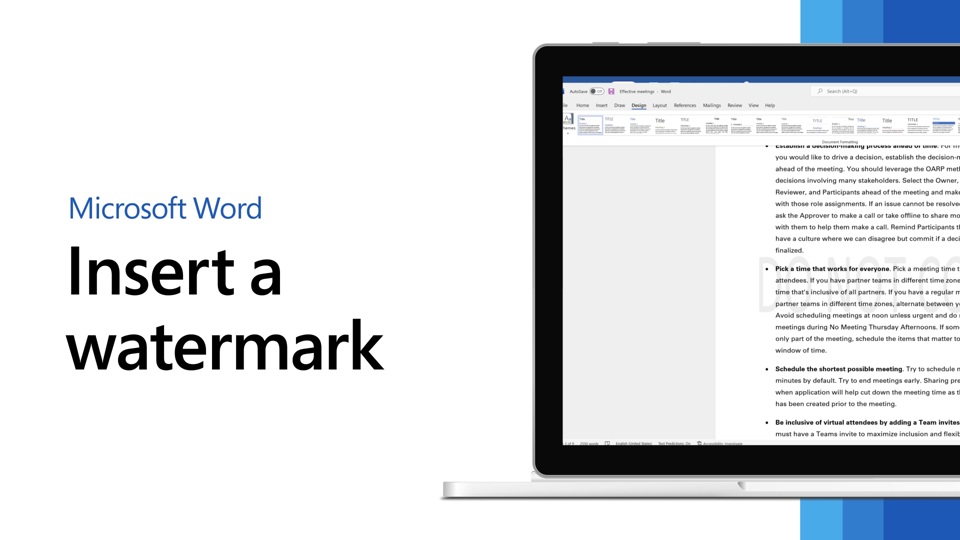
In the vast expanse of document design, watermarks stand as subtle yet powerful elements, imbuing pages with branding, security, and aesthetic appeal. Whether you’re creating professional reports, drafting confidential documents, or designing eye-catching presentations, knowing how to insert watermarks in Microsoft Word is essential for adding a distinctive touch to your content. In this extensive guide, we’ll explore the intricacies of inserting watermarks in Microsoft Word, empowering you to elevate your documents with elegance and sophistication.
Understanding the Significance of Watermarks:
Before delving into the practical aspects of inserting watermarks, it’s crucial to grasp the significance of these faint, translucent images or text in document design. Watermarks serve multiple purposes, including:
- Branding and identity: Watermarks enable organizations to imprint their logos, trademarks, or company names on documents, reinforcing brand recognition and professionalism.
- Security and authenticity: Watermarks serve as visual indicators of document authenticity, deterring unauthorized duplication or alteration and enhancing document security.
- Aesthetic enhancement: Watermarks add visual interest, texture, and depth to documents, enhancing their appeal and making them more visually captivating.
By incorporating watermarks into your document design, you can convey authenticity, professionalism, and style while also reinforcing your brand identity and ensuring document integrity.
Basic Watermark Insertion:
Inserting a watermark in Microsoft Word is a straightforward process that can be accomplished using intuitive tools and commands. Here’s how to do it:
- Navigate to the Design Tab:
- Open Microsoft Word and navigate to the “Design” tab located in the top menu bar.
- Access the Watermark Menu:
- In the “Design” tab, you’ll find the “Watermark” button, typically located in the “Page Background” group. Click on this button to access the watermark menu.
- The watermark menu offers pre-designed watermark options, including text-based watermarks and image-based watermarks.
- Select a Watermark:
- Browse through the available watermark options and select the one that best suits your document’s purpose, style, and branding.
- Click on the desired watermark to insert it into your document, where it will appear faintly in the background behind the text.
Advanced Watermark Customization:
While basic watermark insertion suffices for most scenarios, Microsoft Word offers advanced features and customization options to further enhance the functionality and usability of watermarks. Here are some additional features you may explore:
- Custom Text Watermarks:
- In addition to pre-designed watermarks, Word allows users to create custom text watermarks with personalized messages, slogans, or branding elements. To create a custom text watermark, select “Custom Watermark” from the watermark menu and enter your desired text.
- Image Watermarks:
- For more visual impact, Word enables users to insert image-based watermarks, such as logos, signatures, or background images. To insert an image watermark, select “Picture Watermark” from the watermark menu and choose the image file you wish to use as the watermark.
- Adjusting Watermark Position and Size:
- Word provides options for adjusting the position, size, and orientation of watermarks to suit your preferences. After inserting a watermark, you can click on it to select it, then use the sizing handles and rotation handle to resize and rotate the watermark as needed.
Best Practices for Watermark Usage:
While watermarks offer versatility and functionality in document design, it’s essential to use them judiciously and in accordance with best practices. Here are some tips to consider:
- Maintain Legibility:
- When designing text-based watermarks, ensure that the text remains legible and discernible against the background. Use appropriate font sizes, colors, and transparency levels to achieve optimal readability without overpowering the main text.
- Balance Visual Impact:
- Strike a balance between visual impact and subtlety when designing watermarks. Avoid overly distracting or intrusive watermarks that detract from the readability and professionalism of the document.
- Consider Document Type:
- Tailor the design and placement of watermarks to suit the document type and audience. For example, confidential documents may require prominent security watermarks, while marketing materials may benefit from stylish branding watermarks.
- Test Across Devices:
- Before finalizing your document, test the appearance of watermarks across different devices and display settings to ensure that they appear as intended. Variations in screen resolution or printing settings may affect watermark visibility and clarity.
Conclusion:
Inserting a watermark in Microsoft Word is a powerful way to enhance the branding, security, and visual appeal of your documents. By mastering the basic insertion process, exploring advanced customization options, and adhering to best practices for watermark usage, you can create documents that captivate your audience and convey authenticity, professionalism, and style. Whether you’re protecting sensitive information, reinforcing brand identity, or adding visual interest to your documents, watermarks offer a versatile and effective means of enhancing their impact and appeal. So, the next time you embark on a document creation journey in Word, remember to harness the power of watermarks to elevate your content with elegance and distinction.