How to install a liquid cooling pump
Installing a liquid cooling pump is a critical step in setting up a custom water cooling system for your PC. Liquid cooling systems offer superior […]
Installing a liquid cooling pump is a critical step in setting up a custom water cooling system for your PC. Liquid cooling systems offer superior […]
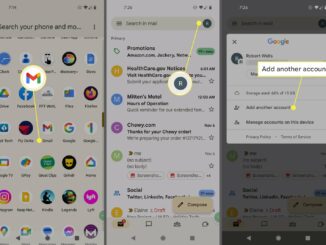
Setting up email on your smartphone is an essential task that allows you to stay connected and manage your communications on the go. Whether you […]
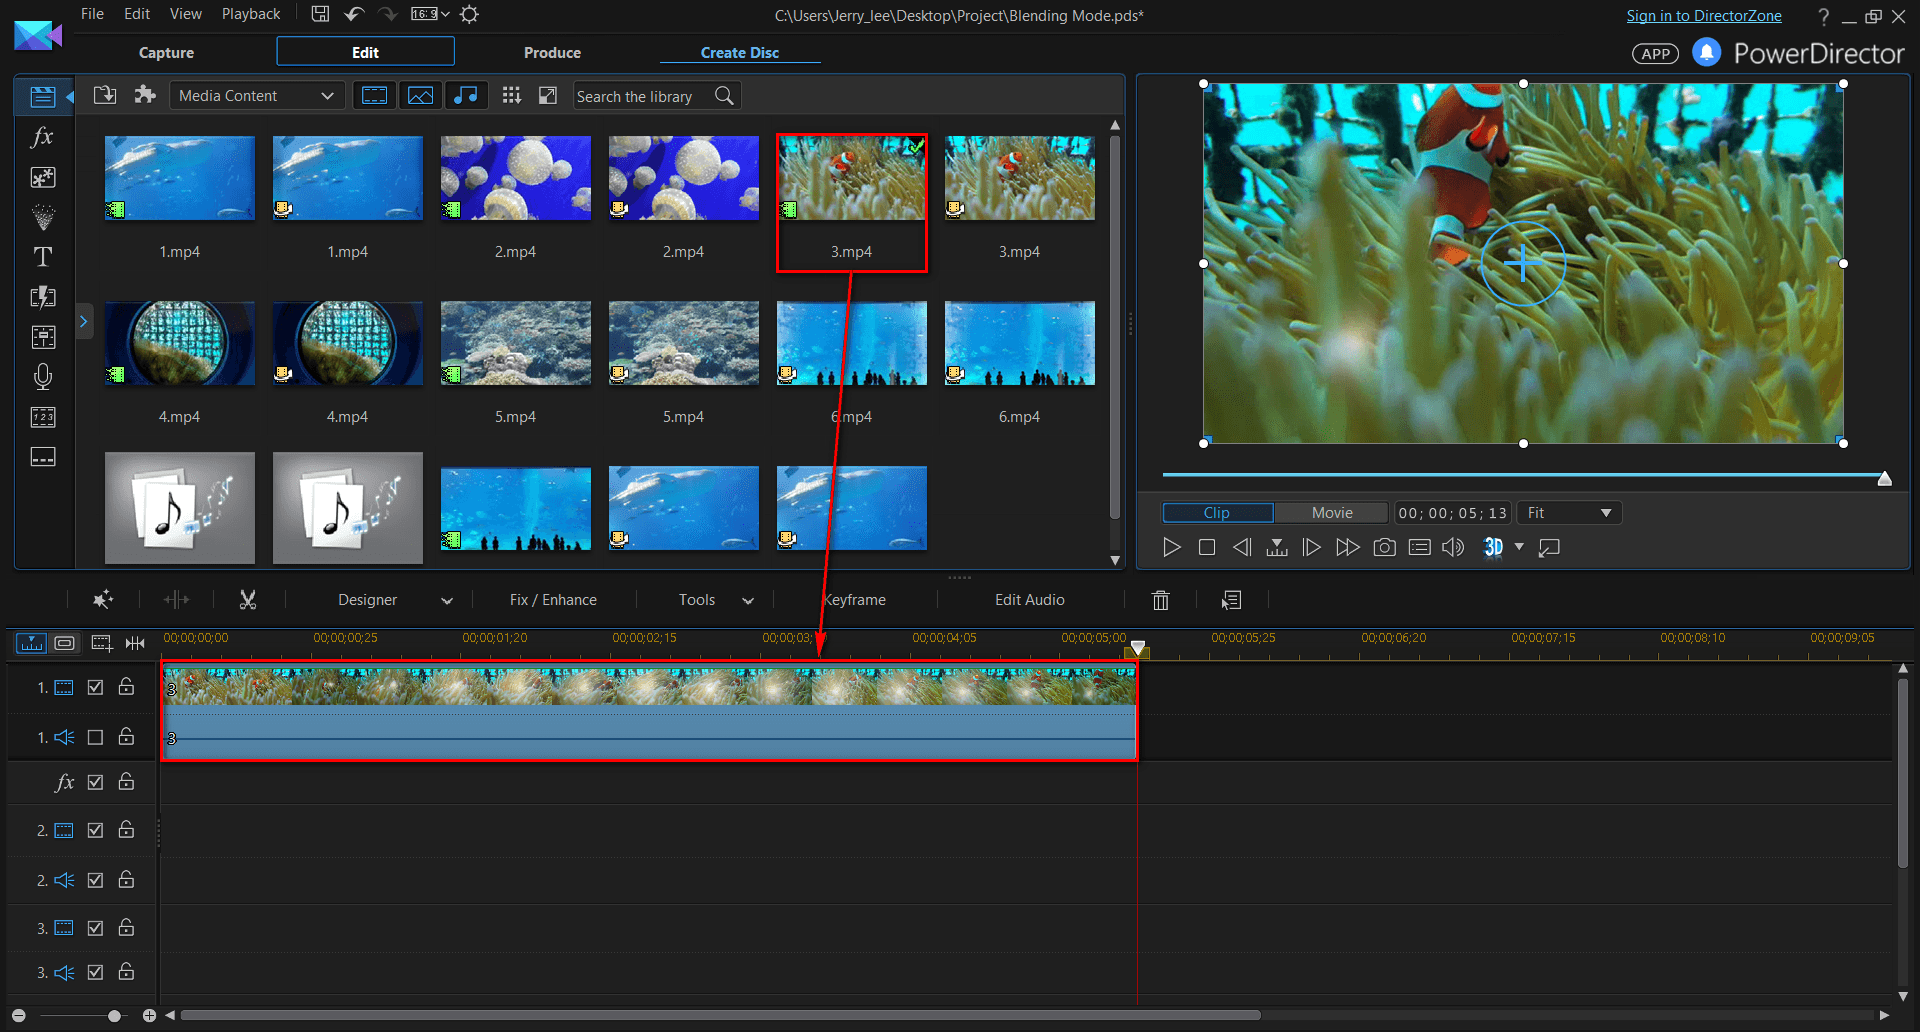
Using blending modes in CyberLink PowerDirector allows you to creatively combine layers of video clips, images, or effects to achieve various visual effects and enhancements […]
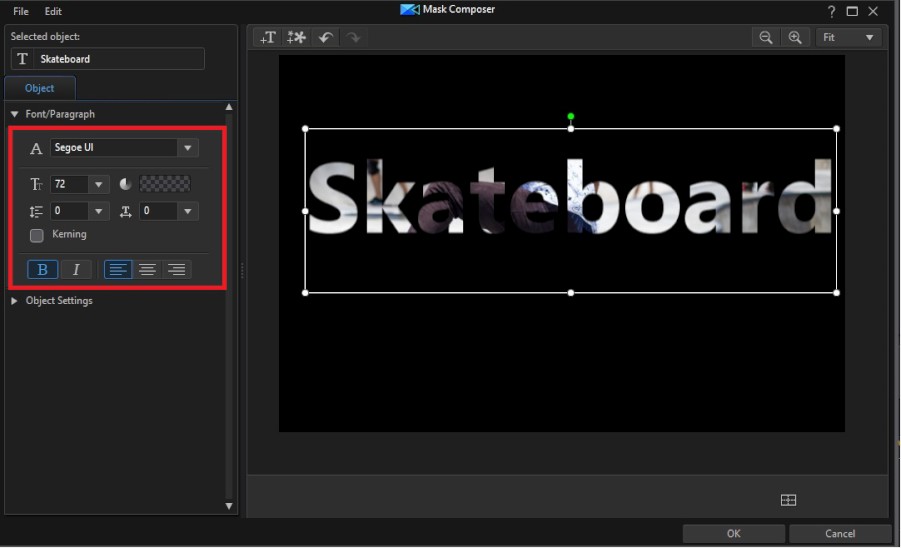
Creating masks in CyberLink PowerDirector using the Mask Designer allows you to enhance your video editing projects by selectively hiding or revealing portions of video […]
Creating animated titles in CyberLink PowerDirector allows you to add professional-looking text animations to your videos, enhancing visual appeal and engaging your audience effectively. PowerDirector […]
Video stabilization is a crucial feature in video editing, especially for content creators looking to enhance the visual quality of their footage by reducing unwanted […]
Copyright © 2026 | WordPress Theme by MH Themes