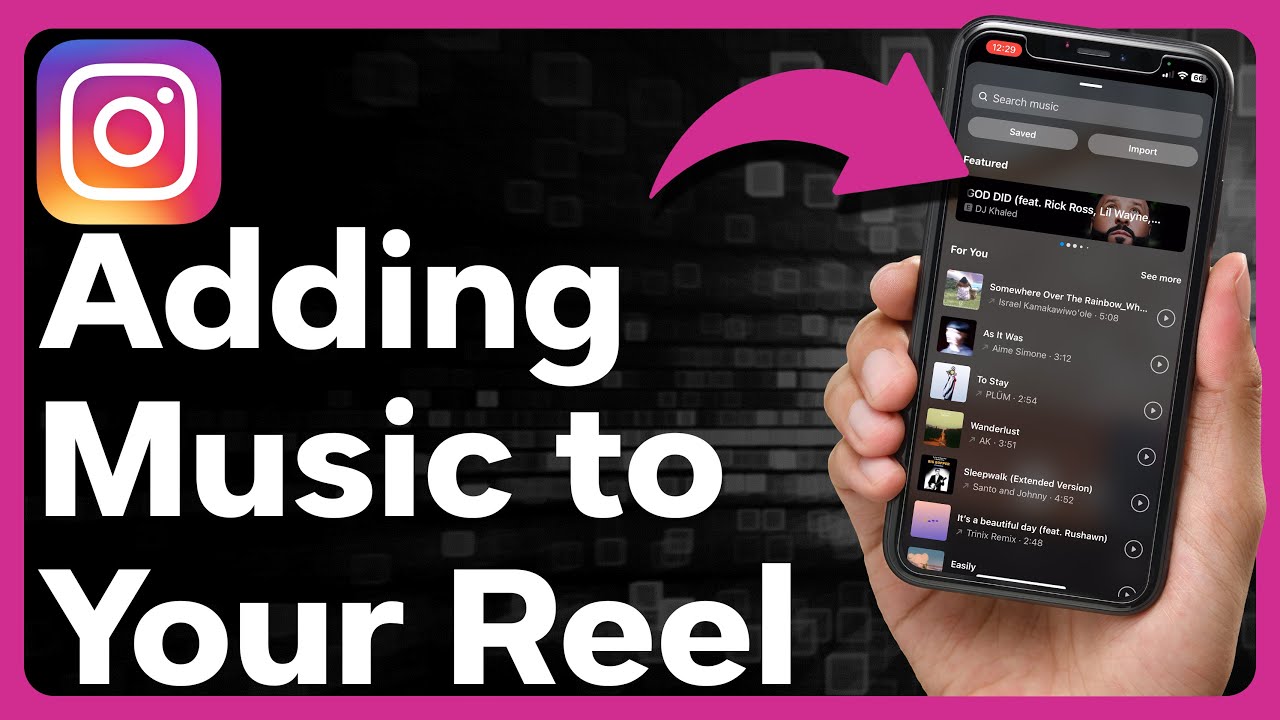
In the vibrant world of social media, Instagram continues to evolve as a dynamic platform for creativity, expression, and connection. With the introduction of Instagram Reels, users now have a powerful tool at their fingertips for creating and sharing short-form videos that entertain, inspire, and engage audiences. One of the key features that sets Reels apart is the ability to add music – a feature that allows users to enhance their videos with catchy tunes, infectious beats, and mood-setting melodies. In this comprehensive guide, we’ll explore everything you need to know about adding music to Instagram Reels, from accessing the music library to mastering advanced editing techniques for maximum impact.
Understanding the Importance of Adding Music to Instagram Reels
Music plays a crucial role in setting the mood, enhancing the atmosphere, and evoking emotions in videos. By adding music to Instagram Reels, users can elevate their content, capture attention, and create a more immersive viewing experience for their audience. Whether you’re showcasing your talents, sharing moments from your daily life, or promoting your brand, adding the right music can help convey your message, evoke emotions, and leave a lasting impression on viewers.
How to Add Music to Instagram Reels
- Access the Reels Camera:
- Open the Instagram app on your mobile device and tap on the camera icon in the top-left corner of the screen.
- Swipe right on the camera screen to access the Reels camera.
- Choose Your Music:
- Before you start filming, tap the music icon in the toolbar at the bottom of the screen to access Instagram’s extensive music library.
- Browse through the library to discover trending songs, popular tracks, and curated playlists, or use the search bar to find specific songs or artists.
- Select Your Song:
- Once you’ve found the perfect song, tap on it to select it. You can preview the song by tapping the play button, and adjust the starting point by dragging the slider.
- Adjust Your Settings:
- After selecting your song, you can adjust various settings such as the volume level, speed (normal, slow-motion, or fast-motion), and duration of the song.
- Start Filming:
- Once you’ve customized your music settings, tap the record button to start filming your Reel. You can film multiple clips within the allotted time frame, pausing and resuming as needed.
- Edit Your Reel:
- After filming your clips, you can edit your Reel using a variety of editing tools, including trimming, cutting, and rearranging clips. You can also add text, stickers, and other creative elements to personalize your Reel further.
- Preview and Publish:
- Once you’re satisfied with your Reel, tap the arrow icon to preview it. You can make any final adjustments before tapping the “Share” button to publish your Reel to your Instagram feed or Story.
Tips for Using Music Effectively in Instagram Reels
- Choose the Right Song:
- Select a song that complements the mood, theme, and content of your Reel. Consider the tone, tempo, and lyrics of the song, and choose one that resonates with your audience and enhances the overall viewing experience.
- Experiment with Different Genres:
- Explore a variety of music genres and styles to keep your Reels fresh and engaging. Experiment with upbeat pop songs, laid-back acoustic tracks, energetic dance anthems, and more to find the perfect soundtrack for your content.
- Sync Your Movements:
- Coordinate your movements and actions with the rhythm and beat of the music to create dynamic and visually compelling Reels. Use the music as a guide for timing your transitions, gestures, and choreography to ensure smooth synchronization and flow.
- Highlight Key Moments:
- Use music to emphasize key moments, transitions, or highlights in your Reels. Time your edits and cuts to coincide with changes in the music, creating a sense of anticipation and excitement for viewers.
- Add Personal Touches:
- Personalize your Reels by adding your own vocals, instrumentals, or remixes to the music. Whether you’re singing along to your favorite song, playing an instrument, or adding your own unique spin to a track, adding personal touches can help make your Reels stand out and reflect your personality.
Advanced Editing Techniques
- Blend Multiple Tracks:
- Experiment with blending multiple tracks together to create custom soundscapes and mashups for your Reels. Layer different songs, loops, and audio effects to add depth and complexity to your videos.
- Use Audio Effects:
- Explore Instagram’s library of audio effects, such as filters, EQ presets, and sound enhancements, to enhance the quality and impact of your music. Experiment with different effects to achieve the desired tone, texture, and atmosphere for your Reels.
- Create Original Soundtracks:
- Produce original soundtracks or compositions for your Reels using music production software or apps. Whether you’re a musician, composer, or producer, creating your own music can add a unique and personal touch to your videos.
- Collaborate with Musicians:
- Collaborate with musicians, artists, or producers to create custom music or soundtracks for your Reels. Partnering with other creators can help expand your creative horizons and produce high-quality content that resonates with your audience.
Conclusion
Adding music to Instagram Reels is a powerful way to enhance your content, captivate your audience, and create a memorable viewing experience. By leveraging the tips, techniques, and strategies outlined in this guide, you can create Reels that resonate with your audience, evoke emotions, and leave a lasting impression on viewers. So, unleash your creativity, explore the possibilities, and make your Reels come to life with captivating music today!