Introduction:
Color wheels are essential tools in the arsenal of every video editor and colorist, offering precise control over the color balance, temperature, and tonal balance of footage. DaVinci Resolve, renowned for its advanced color grading capabilities, provides a robust set of color wheels that empower users to achieve stunning and professional-grade results. In this extensive guide, we’ll delve deep into the art of using color wheels in DaVinci Resolve, providing you with the knowledge and techniques to master this essential aspect of color grading.
Understanding the Color Wheels:
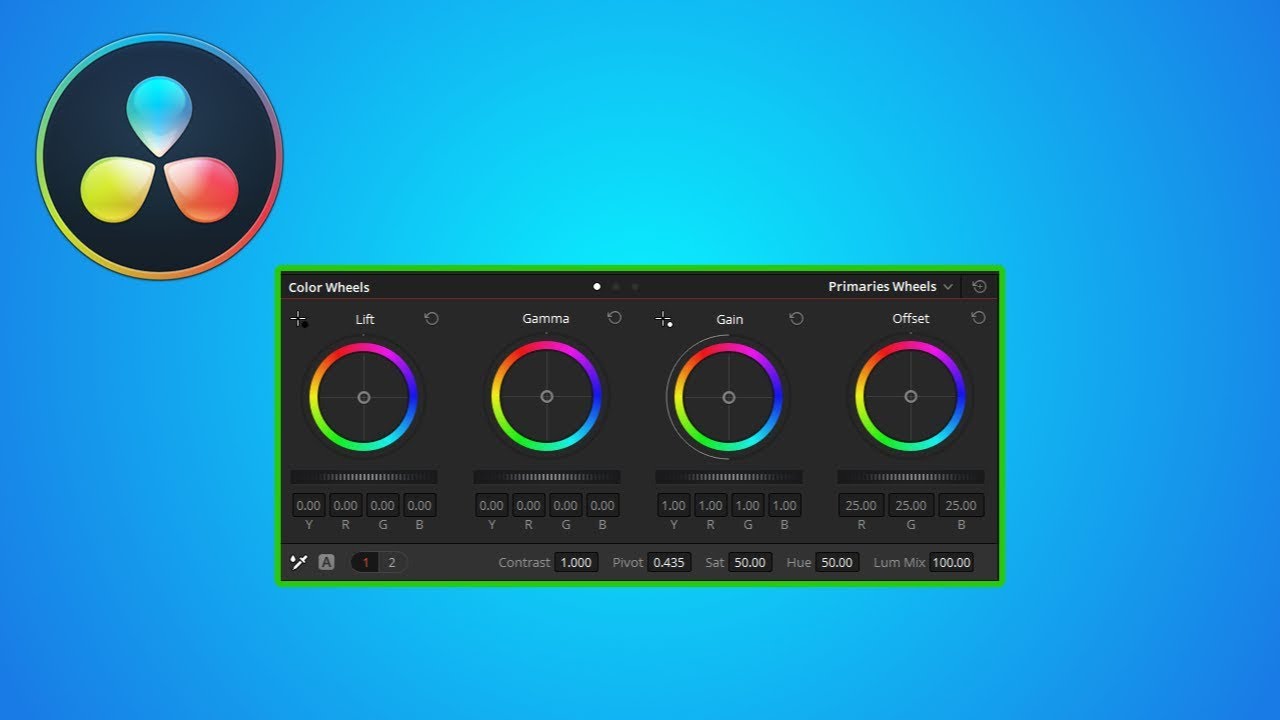
Color wheels are graphical interfaces that represent the primary colors (red, green, blue) and their corresponding complementary colors (cyan, magenta, yellow). In DaVinci Resolve, there are three main color wheels: Lift, Gamma, and Gain.
- Lift:
- The Lift color wheel controls the shadows or dark areas of the image. Adjusting the Lift can add or subtract color from the shadows, influencing the overall tonal balance of the footage.
- Gamma:
- The Gamma color wheel affects the midtones or the average brightness level of the image. Adjusting the Gamma can alter the overall contrast and tonality of the footage, impacting the midrange tones.
- Gain:
- The Gain color wheel governs the highlights or the brightest areas of the image. Adjusting the Gain can add or remove color from the highlights, affecting the overall brightness and color balance.
Each color wheel consists of two rings: the outer ring controls saturation, while the inner ring adjusts hue. By manipulating these rings, users can make precise color adjustments to achieve the desired look and feel for their footage.
Using the Color Wheels in DaVinci Resolve:
Let’s explore the step-by-step process of using the color wheels in DaVinci Resolve to enhance the visual quality and aesthetic appeal of your footage:
- Open the Color Page:
- Launch DaVinci Resolve and navigate to the Color page by clicking on the Color tab at the bottom of the interface. This will bring up the Color page, where you can access the color grading tools, including the color wheels.
- Load Your Footage:
- Import your footage into the Media Pool by clicking on the Media Pool tab and dragging your clips into the bin. Then, drag your desired clip onto the timeline to begin color grading.
- Access the Color Wheels:
- With your clip selected on the timeline, navigate to the Color Wheels panel located on the right side of the interface. You’ll see three color wheels labeled Lift, Gamma, and Gain.
- Adjust the Lift Color Wheel:
- Start by adjusting the Lift color wheel to manipulate the shadows or dark areas of the image. Click and drag the outer ring to adjust saturation and the inner ring to modify hue. Experiment with different adjustments to achieve the desired tonal balance in the shadows.
- Fine-Tune the Gamma Color Wheel:
- Next, move on to the Gamma color wheel to control the midtones or average brightness level of the image. Use the outer ring to adjust saturation and the inner ring to tweak hue. Make subtle adjustments to enhance contrast and tonality in the midrange tones.
- Refine the Gain Color Wheel:
- Lastly, adjust the Gain color wheel to manipulate the highlights or brightest areas of the image. Use the outer ring to control saturation and the inner ring to alter hue. Fine-tune the brightness and color balance of the highlights to achieve a visually pleasing result.
- Preview Your Changes:
- As you make adjustments to the color wheels, observe the real-time changes reflected in the viewer window. Take advantage of DaVinci Resolve’s split-screen view options to compare your graded footage with the original for accurate assessment.
- Save and Export:
- Once you’re satisfied with your color grading adjustments, save your project and export your footage to your desired format for further editing or distribution.
Best Practices for Using Color Wheels:
To optimize your workflow and achieve professional-grade results when using color wheels in DaVinci Resolve, consider the following best practices:
- Understand Color Theory:
- Familiarize yourself with basic color theory principles, including complementary colors, color temperature, and color harmony. This knowledge will inform your color grading decisions and help you achieve the desired aesthetic for your footage.
- Practice Subtlety:
- Avoid making drastic color adjustments that result in unnatural or exaggerated colors. Instead, aim for subtle and nuanced changes that enhance the visual quality and realism of your footage.
- Use Scopes for Accuracy:
- Utilize DaVinci Resolve’s waveform, vectorscope, and histogram scopes to analyze and monitor color and tonal information in your footage. Scopes provide invaluable feedback and ensure accurate color grading adjustments.
- Experiment with Split Toning:
- Experiment with split toning techniques by adjusting the color wheels independently for shadows, midtones, and highlights. Split toning can add depth, dimension, and visual interest to your footage, enhancing the overall aesthetic.
- Develop Your Style:
- Develop your unique color grading style by experimenting with different color combinations, contrast levels, and tonal treatments. Find inspiration from other filmmakers, photographers, and artists, but strive to cultivate a distinct visual identity that sets your work apart.
Conclusion:
Color wheels are powerful tools for achieving precise and nuanced color adjustments in DaVinci Resolve. By mastering the art of using color wheels, you can enhance the visual quality, mood, and storytelling impact of your footage with precision and finesse. Whether you’re working on a narrative film, documentary, commercial, or music video, the ability to leverage color wheels effectively is essential for achieving professional-grade results and realizing your creative vision.