Introduction:
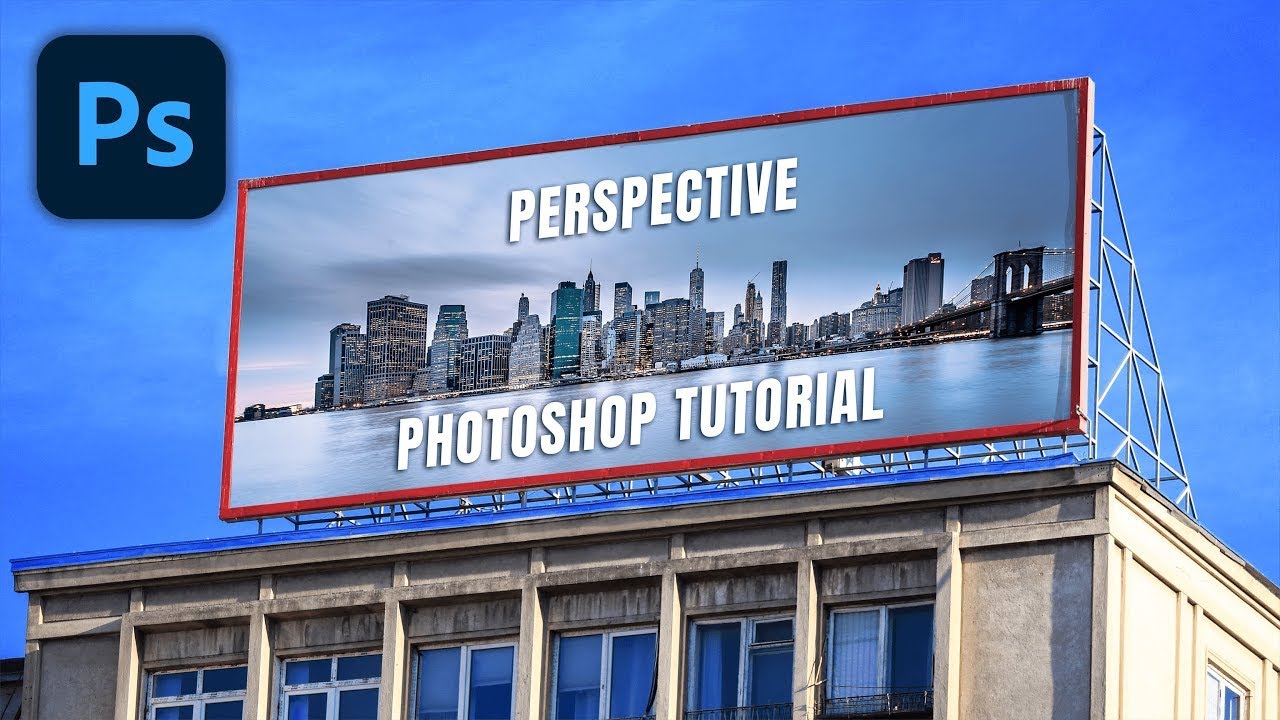
Photoshop, a powerhouse in digital image editing, is teeming with hidden tricks that elevate the skillset of designers and digital artists. One such advanced technique that often remains undiscovered is the ability to place anything in perspective non-destructively. This comprehensive guide aims to unravel the mysteries behind this Photoshop trick, offering detailed insights, step-by-step instructions, and professional tips to empower you with the knowledge to wield perspective manipulation as a versatile tool in your creative arsenal.
Table of Contents:
- Unveiling the Power of Non-Destructive Perspective Manipulation:
- a. Defining Non-Destructive Editing in Photoshop
- b. The Significance of Perspective Manipulation
- c. Exploring the Versatility of the Trick
- Choosing the Right Image for Perspective Placement:
- a. Assessing Image Composition and Perspective
- b. Identifying Elements Suitable for Manipulation
- c. Understanding the Impact on Visual Storytelling
- Essential Preparations for Non-Destructive Perspective Manipulation:
- a. Organizing Layers for Flexibility
- b. Familiarizing Yourself with Transformation Tools
- c. Setting Up a Clear Workspace for Efficient Editing
- Basic Techniques for Perspective Placement:
- a. Utilizing the Transform and Perspective Tools
- b. Applying Layer Masks for Controlled Adjustments
- c. Adjusting Opacity and Blend Modes for Seamless Integration
- Advanced Perspective Manipulation Methods:
- a. Embracing the Vanishing Point Filter for Complex Scenes
- b. Leveraging Warp and Puppet Warp for Artistic Flexibility
- c. Exploring the Transform Perspective Warp for Precise Edits
- Simulating Realistic Lighting and Shadows:
- a. Analyzing Directional Light Sources in the Image
- b. Adjusting Shadow Intensity and Placement
- c. Matching Color Tones for Cohesive Integration
- Fine-Tuning Details for Realism:
- a. Refining Edges and Eliminating Unwanted Artifacts
- b. Adjusting Texture and Grain for Consistency
- c. Incorporating Custom Brushes for Seamless Blending
- Creating Depth and Dimension in Manipulated Elements:
- a. Adjusting Depth of Field for Realistic Integration
- b. Experimenting with Foreground and Background Elements
- c. Utilizing Blurring Techniques to Mimic Distance
- Integrating Atmospheric Effects for Added Realism:
- a. Adding Fog, Mist, or Haze for Depth Perception
- b. Implementing Lens Flares and Light Rays
- c. Exploring Special Effects for Artistic Compositions
- Troubleshooting Common Challenges in Perspective Manipulation:
- a. Addressing Perspective Discrepancies
- b. Dealing with Complex Scene Elements
- c. Avoiding Unnatural Halos and Distortions
- Saving and Exporting Images with Non-Destructive Perspective Adjustments:
- a. Choosing the Right File Format for Different Platforms
- b. Optimizing Images for Web or Print
- c. Preserving Layers for Future Adjustments
- Inspirational Examples and Case Studies:
- a. Showcasing Before and After Perspective Manipulations
- b. Breakdowns of Notable Perspective Adjustment Challenges
- c. Exploring Different Styles and Approaches in Perspective Artistry
Conclusion:
Mastering non-destructive perspective manipulation in Photoshop is an advanced skill that unlocks boundless creative possibilities. This comprehensive guide has provided you with the knowledge and tools needed to wield this powerful trick effectively. As you delve into the intricate world of perspective manipulation, remember that experimentation, attention to detail, and a deep understanding of Photoshop’s capabilities will guide you toward creating compositions that defy the boundaries of reality. So, embrace the versatility of non-destructive perspective manipulation and let your creativity soar in ways that leave a lasting impression on your digital artworks.