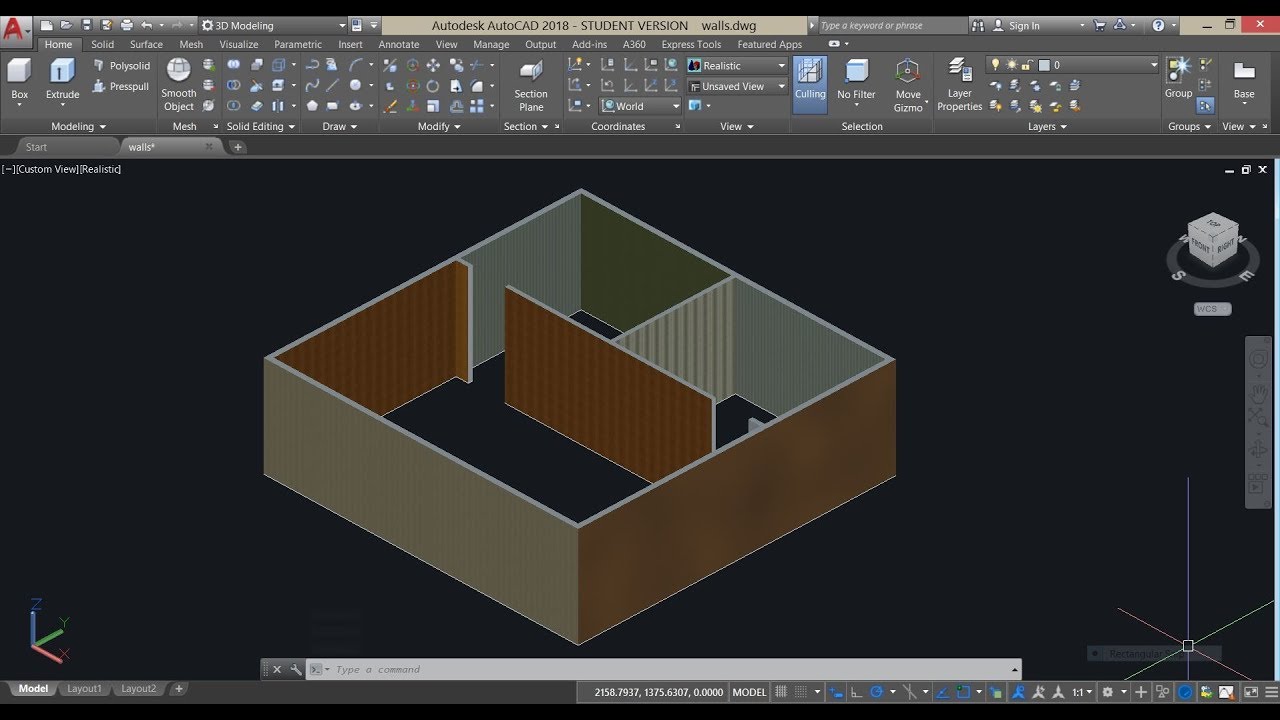
Introduction: In the realm of computer-aided design (CAD), AutoCAD stands as a powerhouse, enabling architects, engineers, designers, and artists to bring their visions to life with precision and efficiency. One of the key elements in creating realistic and visually appealing designs is the application of materials and textures. Whether you’re designing buildings, interiors, products, or landscapes, knowing how to effectively apply materials and textures in AutoCAD can significantly enhance the quality and realism of your work. In this comprehensive guide, we’ll delve into the intricacies of material and texture application in AutoCAD, from understanding the basics to mastering advanced techniques.
Understanding Materials and Textures: Before diving into the application process, it’s crucial to understand the distinction between materials and textures in the context of AutoCAD.
Materials: In AutoCAD, materials represent the physical properties of surfaces, such as color, reflectivity, transparency, and texture. They determine how light interacts with surfaces in a virtual environment, thereby influencing the appearance of objects in a drawing.
Textures: Textures, on the other hand, are images or patterns applied to surfaces to simulate real-world materials such as wood, metal, fabric, or stone. Textures provide visual details and surface characteristics that enhance the realism of rendered images.
Together, materials and textures play a pivotal role in creating lifelike renderings and presentations in AutoCAD.
Basic Material and Texture Application: Applying materials and textures in AutoCAD involves a series of steps that vary depending on the version of AutoCAD you’re using. However, the fundamental principles remain consistent across versions. Here’s a basic overview of the process:
- Accessing the Materials Browser: In AutoCAD, materials are managed through the Materials Browser, which allows you to browse, create, and edit materials. To access the Materials Browser, type “MAT” in the command line or navigate to the “Visualize” tab in the ribbon and click on “Materials.”
- Choosing a Material: Once in the Materials Browser, you can choose from a library of predefined materials or create custom materials tailored to your specific needs. To apply a material, simply drag and drop it onto the desired object in your drawing.
- Adjusting Material Properties: After applying a material, you can adjust its properties such as color, transparency, reflectivity, and texture mapping to achieve the desired look. These adjustments can be made in the Materials Browser or through the Properties palette.
- Applying Textures: Textures can be applied to materials to add visual detail and realism to surfaces. AutoCAD provides a library of predefined textures, but you can also import custom textures from external sources.
- Mapping Textures: Mapping textures involves positioning and scaling them on surfaces to achieve the desired appearance. AutoCAD offers various mapping methods, including planar mapping, cylindrical mapping, and spherical mapping, each suited for different types of surfaces.
Advanced Material and Texture Techniques: While the basic steps outlined above suffice for most applications, mastering advanced material and texture techniques can take your designs to the next level. Here are some advanced techniques to consider:
- Material Layering: Layering multiple materials on a single object allows you to achieve complex surface appearances that mimic real-world materials. For example, you can layer a wood material with a glossy finish on top of a base wood material to simulate varnished wood.
- Procedural Textures: Procedural textures are generated algorithmically rather than being based on image files. These textures offer infinite variation and can be manipulated parametrically to create unique surface effects such as marble veining or weathered patina.
- Bump and Displacement Mapping: Bump and displacement mapping are techniques used to simulate surface irregularities and geometric detail without significantly increasing the model’s complexity. Bump mapping perturbs surface normals to create the illusion of depth, while displacement mapping physically deforms the geometry based on texture information.
- Photorealistic Rendering: Achieving photorealistic renderings requires careful attention to lighting, material properties, and texture detail. AutoCAD offers rendering plugins such as Autodesk’s own “AutoCAD Render” and third-party options like V-Ray and Blender Cycles, which provide advanced lighting and rendering capabilities for producing lifelike images.
- Material Libraries and Online Resources: Leveraging existing material libraries and online resources can save time and effort in creating materials and textures from scratch. Many CAD software vendors and online communities offer downloadable material libraries and texture packs that you can integrate into your projects.
Conclusion: Mastering the art of applying materials and textures in AutoCAD is a journey that requires both technical skill and creative vision. By understanding the principles of material and texture application, experimenting with different techniques, and continuously refining your workflow, you can elevate the quality of your designs and create compelling visualizations that captivate audiences. Whether you’re designing architectural masterpieces, engineering marvels, or artistic creations, the ability to breathe life into your digital models through materials and textures is a powerful skill that sets you apart as a CAD professional.