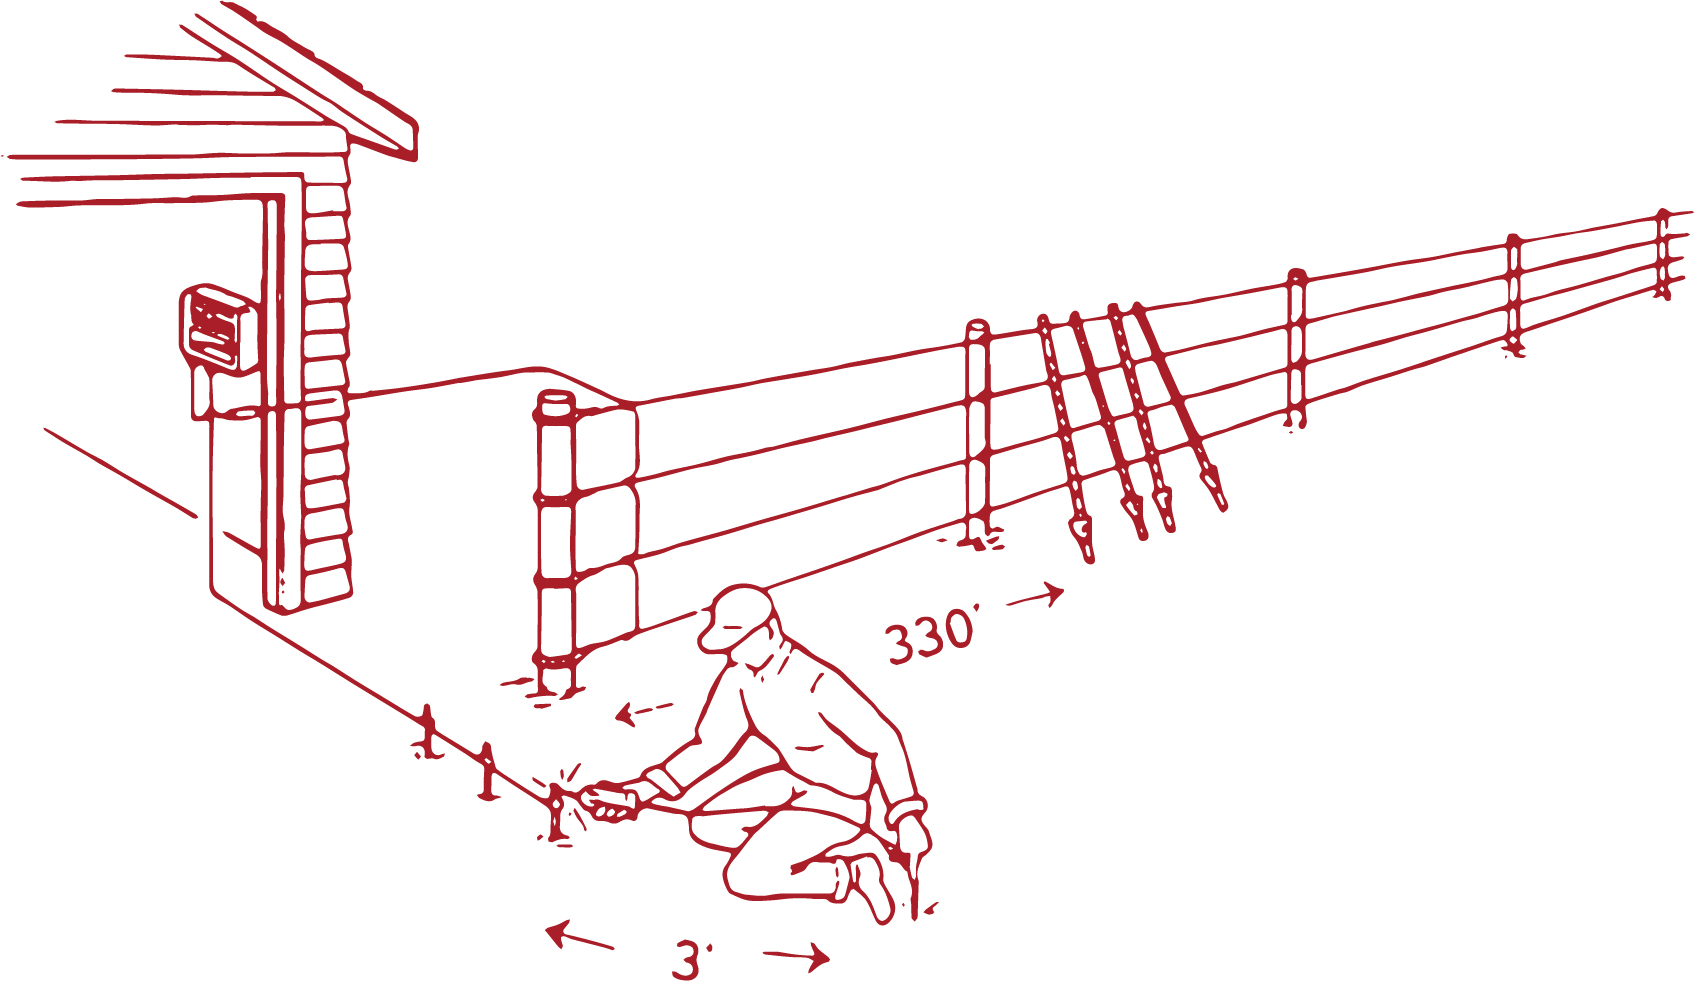
Introduction:
Electric fences have evolved from agricultural tools to versatile solutions for property protection, pet containment, and wildlife management. Whether you are safeguarding your livestock, securing your property, or ensuring your pets stay within designated areas, understanding how to install an electric fence is essential. This comprehensive guide will take you through the intricacies of planning, preparation, and execution, empowering you to create an effective and safe electric fencing system.
Section 1: Planning Your Electric Fence Installation
- Define Objectives:
- Clearly outline the purpose of your electric fence. Is it for livestock containment, property security, or pet control? Understanding your goals will guide the entire installation process.
- Selecting the Right Fence System:
- Choose an electric fence system that aligns with your objectives. Options include permanent, semi-permanent, and temporary fence systems, each with specific applications.
- Legal Considerations:
- Check local regulations and zoning laws related to electric fencing. Some areas may have restrictions on fence height, location, or type, and compliance is crucial.
- Mapping the Perimeter:
- Survey the area you intend to fence and map out the perimeter. Identify potential obstacles, corners, and areas with varying terrain.
Section 2: Gathering Materials and Tools
- Electric Fence Energizer:
- Select an energizer based on your fence length and power requirements. Energizers are available in various voltages and can be powered by mains, battery, or solar energy.
- Posts and Insulators:
- Choose appropriate fence posts and insulators based on your fence type. Insulators prevent the electric current from grounding through the posts.
- Wire or Tape:
- Select high-quality electric fence wire or tape suitable for your specific application. Options include polywire, steel wire, or electric tape.
- Grounding Materials:
- Ensure proper grounding by using grounding rods, clamps, and galvanized wire. Adequate grounding is crucial for the effective operation of the electric fence.
- Tools:
- Gather essential tools such as pliers, a wire strainer, a fence tester, and a post driver for efficient installation.
Section 3: Step-by-Step Guide to Electric Fence Installation
- Install Corner and End Posts:
- Begin by installing corner and end posts, ensuring they are firmly anchored in the ground. Use a post driver for added stability.
- Stringing the Wire:
- Unroll the electric fence wire or tape along the length of the fence, securing it to the posts with insulators. Maintain proper tension for effective conductivity.
- Installing Intermediate Posts:
- Space intermediate posts evenly along the fence line. The spacing depends on the type of animals you are containing or deterring.
- Attaching Insulators:
- Attach insulators to corner and end posts as well as any intermediate posts where necessary. These insulators hold the electric wire away from the posts, preventing grounding.
- Connecting Wires to Energizer:
- Connect one end of the electric fence wire to the energizer’s positive terminal and the other end to the negative terminal. Ensure proper connections for effective electrification.
- Grounding the System:
- Install grounding rods in a moist area, connecting them to the energizer with galvanized wire. Adequate grounding is critical for the electric fence’s functionality.
- Testing the Fence:
- Use a fence tester to verify the voltage along the entire fence. Ensure that the electric charge is consistent and meets the desired level for your application.
- Safety Signage:
- Install warning signs at regular intervals along the fence to alert people and animals of the electrified boundary.
Section 4: Maintenance and Troubleshooting
- Regular Inspections:
- Periodically inspect the entire electric fence for damage, vegetation interference, or loose components. Promptly address any issues to maintain optimal performance.
- Vegetation Control:
- Keep vegetation under control around the fence to prevent it from touching and grounding the wires. Trim grass, shrubs, and tree branches regularly.
- Checking Voltage Levels:
- Regularly test the voltage levels using a fence tester to ensure the electric fence is operating at the desired strength.
- Addressing Grounding Issues:
- If you notice a drop in voltage or suspect grounding issues, investigate and address the problem immediately. Poor grounding can compromise the effectiveness of the electric fence.
- Winter Precautions:
- In colder climates, be aware of ice and snow buildup on the electric fence. Clear any accumulations to maintain proper conductivity.
Section 5: Conclusion
Installing an electric fence requires careful planning, the right materials, and adherence to safety guidelines. Whether you are creating a secure boundary for livestock, protecting your property, or ensuring pet containment, following this comprehensive guide will equip you with the knowledge and skills needed for a successful electric fence installation. Remember that safety is paramount, and consulting with professionals or local authorities can provide additional insights based on specific regional requirements. With a well-installed and properly maintained electric fence, you can enjoy enhanced security, efficient animal management, and a clear delineation of boundaries on your property.