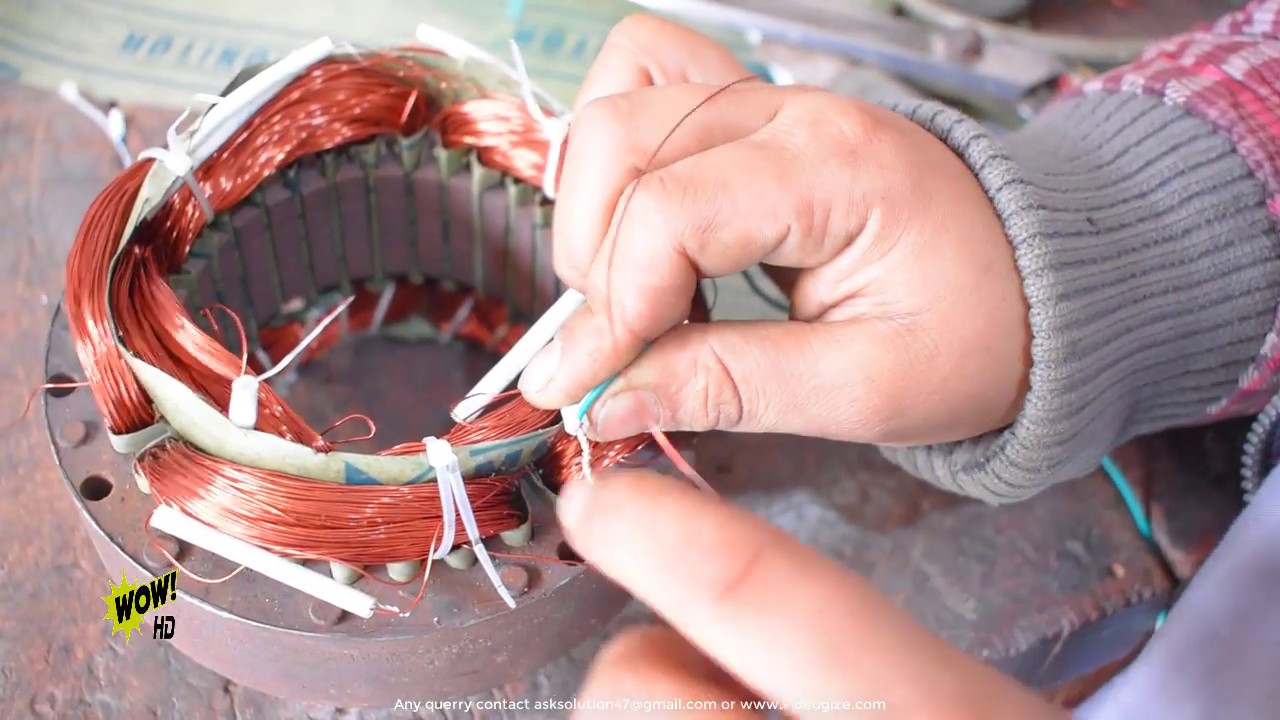
Introduction:
Electric motors are ubiquitous in our daily lives, powering everything from household appliances to industrial machinery. While these motors are designed for durability, they can experience wear and tear over time, leading to reduced efficiency or complete failure. Rewinding an electric motor is a skill that empowers enthusiasts and professionals alike to breathe new life into these essential components. This comprehensive guide will delve into the intricate process of rewinding an electric motor, covering everything from understanding motor components to the step-by-step rewinding procedure.
Section 1: Understanding the Basics of Electric Motors
Before embarking on the journey of rewinding an electric motor, it’s crucial to grasp the fundamental components and principles involved:
- Stator and Rotor: The stationary part of the motor is the stator, housing coils, and the rotor, which is the rotating component.
- Coil Windings: Coils of wire in the stator generate a magnetic field when energized, interacting with the rotor to produce mechanical motion.
- Armature: In motors with commutators, the armature is a crucial part that facilitates the conversion of electrical energy into mechanical motion.
- Windings and Insulation: Wires wound around the stator or rotor constitute windings, while insulation prevents electrical short circuits.
- Core: The core, typically made of laminated iron, enhances the magnetic properties of the motor.
Section 2: Reasons for Rewinding an Electric Motor
Understanding why an electric motor may need rewinding is essential before diving into the rewinding process. Common reasons include:
- Winding Damage: Overheating, wear, or electrical faults can damage the motor windings, affecting performance.
- Changes in Voltage or Frequency: Motors may need rewinding if there are alterations in the power supply, such as changes in voltage or frequency.
- Upgrading or Modifying: Rewinding allows for modifications, such as changing the motor’s speed or adapting it to a different power supply.
- Restoring Vintage Motors: Enthusiasts may rewind motors in antique appliances or machinery to maintain authenticity and functionality.
Section 3: Tools and Materials for Rewinding
Gathering the right tools and materials is crucial for a successful rewinding endeavor. Essential items include:
- Coil Winding Machine: A specialized machine for winding new coils precisely.
- Magnet Wire: Copper or aluminum wire with enamel insulation, available in various gauges.
- Core Laminations: Replacement laminations if the original ones are damaged.
- Insulation Material: Insulating paper or tape to protect windings.
- Multimeter: For testing continuity, resistance, and other electrical properties.
- Varnish or Resin: To impregnate and seal the windings for added durability.
Section 4: Step-by-Step Guide to Rewinding an Electric Motor
- Disassembly:
- Carefully disassemble the motor, documenting the arrangement of components.
- Remove the old windings and inspect the core for any damage.
- Determine Specifications:
- Identify the motor’s specifications, including wire gauge, number of turns, and winding configuration.
- Prepare the Core:
- Clean and varnish the core to ensure a smooth surface.
- Replace damaged laminations if necessary.
- Winding the Coils:
- Use a coil winding machine to wind new coils with the appropriate wire gauge and turns.
- Apply insulating material between layers to prevent short circuits.
- Connecting Coils:
- Connect the coils according to the motor’s original configuration, ensuring proper phase relationships.
- Impregnation:
- Coat the windings with varnish or resin to enhance insulation and protect against moisture.
- Reassembly:
- Carefully reassemble the motor, ensuring proper alignment and tight connections.
- Replace any worn-out bearings or other components.
- Testing:
- Use a multimeter to check the resistance and continuity of the windings.
- Power up the motor gradually to verify smooth operation.
Section 5: Challenges and Considerations
While rewinding an electric motor can be a rewarding skill, it comes with its challenges and considerations:
- Precision and Patience: Precision is crucial in winding coils, and patience is required to avoid mistakes that can impact performance.
- Understanding Motor Specifications: Accurate knowledge of the motor’s specifications is essential for a successful rewind.
- Safety Precautions: Handling electrical components poses risks; adherence to safety precautions is paramount.
- Professional Assistance: In complex cases or for valuable motors, seeking professional assistance may be advisable.
Conclusion:
Rewinding an electric motor is a skill that bridges the gap between art and science. Armed with an understanding of motor components, the right tools, and a methodical approach, enthusiasts and professionals can revive electric motors, extending their lifespan and preserving their functionality. As you embark on the journey of rewinding, remember to prioritize safety, precision, and a deep appreciation for the intricate workings of these indispensable machines.