Introduction:
In the world of digital design and visual communication, creating eye-catching text effects can significantly enhance the impact and appeal of graphic artworks, posters, advertisements, and more. One such captivating effect is the streak paint text effect, which imbues typography with dynamic motion, energy, and vibrancy. In this comprehensive tutorial, we embark on a creative journey to master the art of creating streak paint text effect in Adobe Photoshop, exploring step-by-step techniques, tips, and creative possibilities to unleash your design prowess and elevate your projects to new heights.
Understanding the Streak Paint Text Effect:
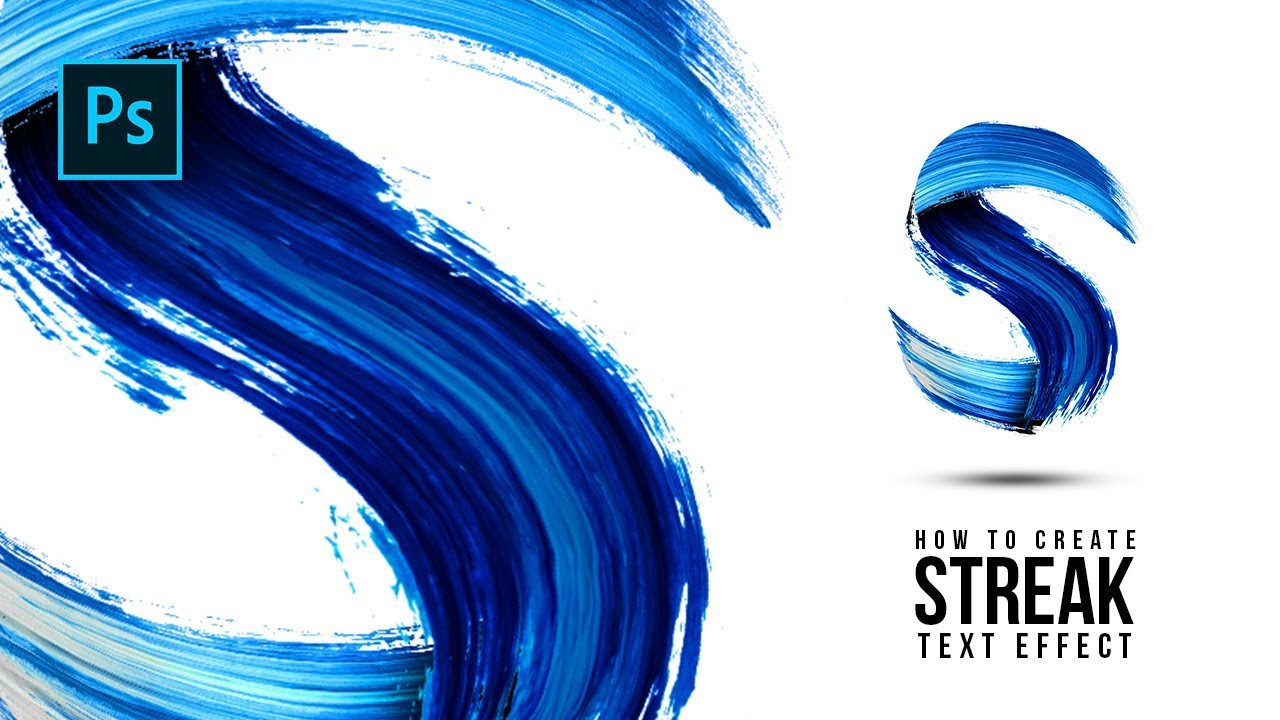
The streak paint text effect is characterized by vibrant streaks of color that appear to flow and cascade along the contours of the text, creating a sense of movement and energy. This dynamic effect can be achieved through a combination of digital painting techniques, layer blending modes, and creative use of Photoshop’s tools and features. The streak paint text effect offers designers a versatile means of adding visual interest, depth, and excitement to typography, making it ideal for a wide range of design applications.
Now, let’s dive into the step-by-step process of creating the streak paint text effect in Photoshop:
Step 1: Setting Up the Document:
Start by opening Adobe Photoshop and creating a new document with dimensions suitable for your design project. Choose a resolution and color mode appropriate for your intended output, such as print or digital display.
Step 2: Adding Text:
Select the Type tool (T) from the toolbar and click on the canvas to create a text layer. Type your desired text using a bold and legible font that will serve as the base for the streak paint effect. Experiment with different fonts and sizes to find one that suits your design vision.
Step 3: Creating the Paint Streaks:
Next, create a new layer above the text layer to paint the streaks. Select the Brush tool (B) from the toolbar and choose a soft, round brush with a size appropriate for your text size. Set the brush color to the desired hue for the streaks.
Step 4: Applying Brush Strokes:
With the brush tool selected and the new layer active, begin painting streaks of color over the text, following the contours of the letters. Experiment with different brush sizes, pressures, and stroke directions to create varied and dynamic streaks. Use smooth, fluid motions to achieve a flowing and organic appearance.
Step 5: Adding Variation:
To add visual interest and variation to the streaks, experiment with changing the brush size, opacity, and color as you paint. Introduce lighter and darker shades of the same color to create highlights and shadows, adding depth and dimensionality to the streak paint effect.
Step 6: Blending Modes and Opacity:
Once you’ve painted the streaks, experiment with different blending modes and opacity levels to blend the streaks with the text and create interesting color interactions. Overlay, Soft Light, and Screen blending modes often work well for achieving vibrant and dynamic results.
Step 7: Adding Motion Blur:
To enhance the sense of movement and flow in the streak paint effect, apply a motion blur filter to the streaks layer. Go to Filter > Blur > Motion Blur and adjust the angle and distance settings to create a subtle blurring effect that simulates motion.
Step 8: Refining the Effect:
Take the time to fine-tune and refine the streak paint effect to achieve the desired look and feel. Use layer masks, erasers, or adjustment layers to remove any unwanted streaks or adjust the opacity and blending of individual strokes. Experiment with different techniques and effects to add complexity and interest to the design.
Step 9: Adding Additional Elements:
Consider incorporating additional design elements such as texture overlays, splatter effects, or graphic elements to further enhance the streak paint text effect. Experiment with layer styles, filters, and blending modes to integrate these elements seamlessly with the text and streaks.
Step 10: Final Touches and Exporting:
Once you’re satisfied with the streak paint text effect, take the time to make any final adjustments or refinements to the design. Fine-tune the colors, contrast, and overall composition to ensure that the text stands out and commands attention. When you’re happy with the final result, save your work and export the design in a high-quality format suitable for your intended use.
Conclusion:
In conclusion, creating the streak paint text effect in Photoshop offers designers a creative and dynamic way to enhance typography and add visual interest to their designs. By following the step-by-step techniques outlined in this tutorial and experimenting with different tools, brushes, and effects, designers can unleash their creativity and produce stunning artworks that captivate viewers and leave a lasting impression. Whether used in posters, advertisements, digital artworks, or other design projects, the streak paint text effect offers endless possibilities for expression and experimentation. Embrace the power of digital painting and typography, and let your imagination soar as you create vibrant and dynamic designs that stand out from the crowd.