Introduction: Understanding user behavior and website performance is essential for optimizing online presence and achieving business goals. Google Analytics is a powerful web analytics tool that provides valuable insights into website traffic, user engagement, and conversion rates. Integrating Google Analytics tracking code into your website allows you to track and analyze visitor interactions, measure the effectiveness of marketing campaigns, and make data-driven decisions to improve your website’s performance. In this extensive guide, we’ll explore the process of adding Google Analytics tracking code to your website using Adobe Dreamweaver, a versatile web development tool that streamlines the integration process.
Understanding Google Analytics Tracking Code: Google Analytics tracking code is a snippet of JavaScript code provided by Google Analytics that you embed into your website’s HTML pages. This code collects data about visitor interactions, such as page views, clicks, sessions, and conversions, and sends this data to the Google Analytics servers for analysis. By adding the Google Analytics tracking code to your website, you gain access to a wealth of information about your website’s performance, audience demographics, traffic sources, and more, enabling you to make informed decisions to optimize your website and marketing efforts.
Step 1: Setting Up a Google Analytics Account Before adding the tracking code to your website, you need to set up a Google Analytics account if you don’t already have one. Follow these steps to set up a Google Analytics account:
- Visit the Google Analytics website (analytics.google.com) and sign in with your Google account credentials.
- Click on “Start measuring” and follow the prompts to create a new Google Analytics account for your website.
- Enter your website name, URL, industry category, and time zone, and click “Create” to generate a tracking ID for your website.
Step 2: Generating the Google Analytics Tracking Code Once you’ve set up a Google Analytics account and created a property for your website, you can generate the tracking code snippet to add to your website. Follow these steps to generate the tracking code:
- In your Google Analytics account, navigate to the Admin section.
- In the Property column, select the website property for which you want to generate the tracking code.
- Under the Property settings, click on “Tracking Info” and then “Tracking Code.”
- Copy the entire tracking code snippet provided by Google Analytics.
Step 3: Adding the Tracking Code to Your Website in Adobe Dreamweaver Now that you have the Google Analytics tracking code snippet, you can add it to your website’s HTML pages using Adobe Dreamweaver. Follow these steps to add the tracking code to your website:
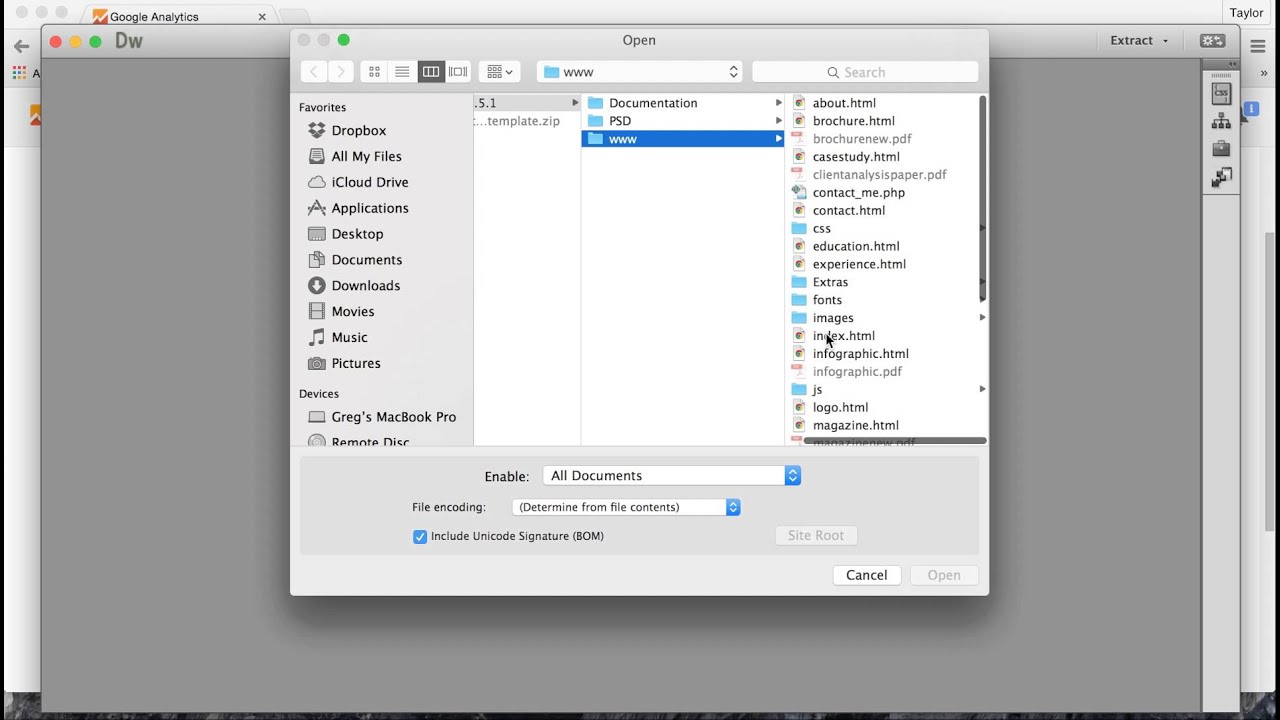
- Open your website project in Adobe Dreamweaver.
- Navigate to the HTML page(s) where you want to add the tracking code, such as the header or footer section.
- Paste the Google Analytics tracking code snippet into the HTML code of your webpage, just before the closing </head> tag.
- Save your changes and upload the modified HTML file(s) to your web server using Dreamweaver’s built-in FTP/SFTP features.
Step 4: Verifying Tracking Code Installation After adding the Google Analytics tracking code to your website, it’s essential to verify that it’s working correctly. Follow these steps to verify the tracking code installation:
- Visit your website in a web browser.
- Right-click on the webpage and select “View Page Source” to view the HTML source code.
- Search for the Google Analytics tracking code snippet within the <head> section of the HTML code.
- Ensure that the tracking code snippet is present and correctly formatted, including your unique tracking ID.
Step 5: Analyzing Website Data in Google Analytics Once the tracking code is successfully installed on your website, Google Analytics will start collecting data about visitor interactions and website performance. To access and analyze this data, log in to your Google Analytics account and navigate to the reporting section. Here, you can explore various reports and metrics, such as audience overview, traffic sources, user behavior, conversions, and more, to gain insights into your website’s performance and audience demographics. Use these insights to identify opportunities for optimization, track the effectiveness of marketing campaigns, and make data-driven decisions to improve your website’s performance and user experience.
Conclusion: Adding Google Analytics tracking code to your website using Adobe Dreamweaver is a straightforward process that provides valuable insights into your website’s performance and user behavior. By following the steps outlined in this guide and leveraging Dreamweaver’s features and tools, you can seamlessly integrate Google Analytics into your website and gain access to a wealth of data to inform your marketing and optimization efforts. Whether you’re a seasoned web developer or new to website analytics, mastering the art of Google Analytics integration in Dreamweaver empowers you to make informed decisions to drive the success of your website and business.