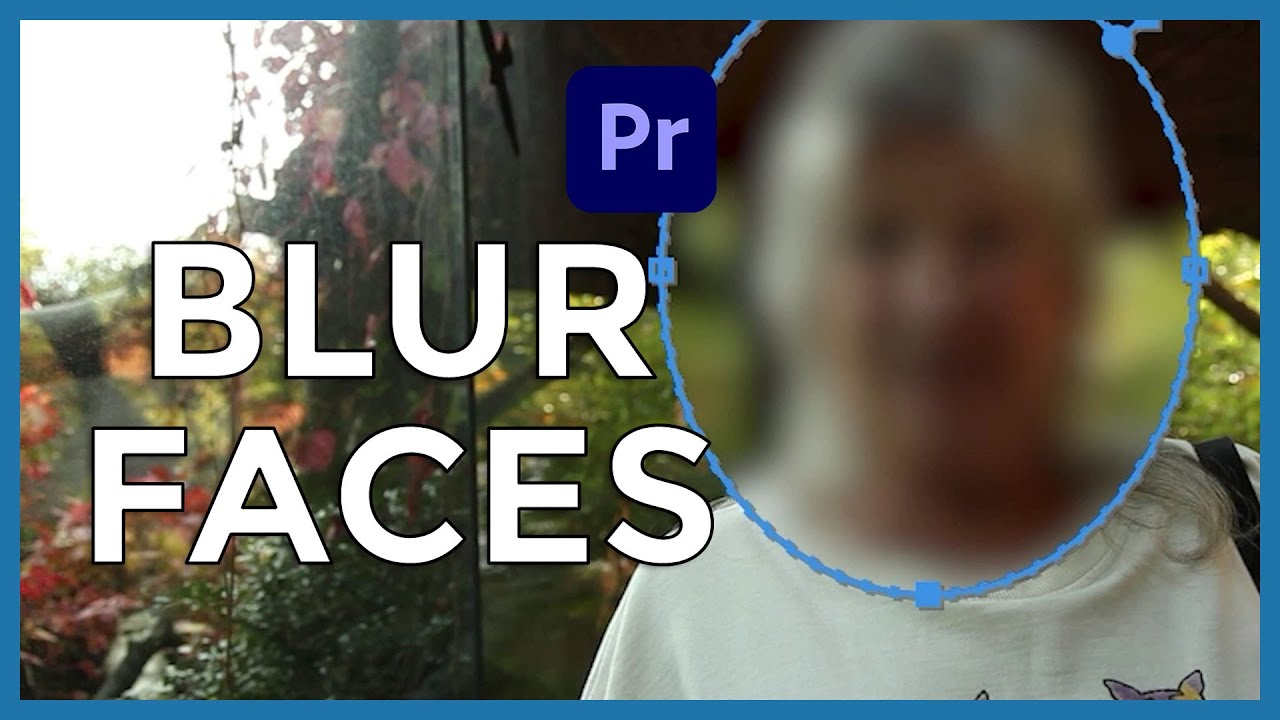
Privacy concerns, anonymity, or creative effects – there are various reasons why you might want to blur faces or objects in your video footage. Adobe Premiere Pro, a leading video editing software, offers powerful tools and features to help you achieve this seamlessly. In this comprehensive guide, we’ll delve into the intricacies of blurring faces or objects in Adobe Premiere Pro, exploring techniques, workflows, and expert tips to help you master this essential aspect of video editing and enhance the privacy and visual appeal of your projects.
Understanding Face and Object Blurring in Adobe Premiere Pro
Before we jump into the practical aspects, let’s grasp the concept and significance of face and object blurring. Blurring faces or objects involves applying a visual effect to obscure specific areas within a video frame, ensuring privacy or directing the viewer’s focus away from sensitive or distracting elements. In Adobe Premiere Pro, blurring can be achieved using various techniques and effects, allowing editors to customize the blur intensity, shape, and tracking to suit their specific needs.
Step-by-Step Guide to Blurring Faces or Objects in Adobe Premiere Pro
- Import Your Footage: Begin by importing the video footage into Adobe Premiere Pro. Ensure that the footage containing the faces or objects you want to blur is in your project media bin.
- Create a Sequence: Create a new sequence in Adobe Premiere Pro by dragging the footage onto the timeline. This sequence will serve as the canvas for applying the blurring effect.
- Duplicate the Footage (Optional): For non-destructive editing, consider duplicating the footage on the timeline before applying the blurring effect. This allows you to preserve the original footage while working with the duplicated version.
- Apply the Gaussian Blur Effect: Locate the Gaussian Blur effect in the Effects panel of Adobe Premiere Pro. Drag the Gaussian Blur effect onto the duplicated footage layer in the timeline.
- Adjust the Gaussian Blur Settings: With the duplicated footage layer selected, navigate to the Effect Controls panel. Adjust the settings of the Gaussian Blur effect to control the intensity and spread of the blur. Experiment with different blur radius values to achieve the desired level of blurring.
- Create a Mask (For Face Blurring): To specifically blur faces within the video footage, create a mask around each face using the Pen tool or the Ellipse tool. Ensure that the mask covers the entire face area that you want to blur.
- Track the Mask (Optional): If the faces or objects you want to blur are in motion, use the built-in tracking tools in Adobe Premiere Pro to track the movement of the masks over time. This ensures that the blur remains accurately applied to the faces or objects throughout the duration of the footage.
- Adjust Mask Properties: Fine-tune the mask properties in the Effect Controls panel to refine the shape, feathering, and position of the masks. This allows for precise control over the area being blurred and ensures seamless integration with the surrounding footage.
- Duplicate and Repeat (For Multiple Faces or Objects): If there are multiple faces or objects to blur within the footage, duplicate the blurred footage layer and create additional masks for each face or object. Repeat the process of adjusting the blur settings and mask properties for each duplicated layer.
- Preview and Refine: Continuously preview the footage in Adobe Premiere Pro to assess the effectiveness of the blurring effect. Make adjustments to the blur settings, mask properties, and tracking as needed to achieve the desired result.
- Export Your Project: Once satisfied with the blurring effect, export your project in the desired format for distribution or further editing. Choose the appropriate output settings to ensure optimal video quality and compatibility with your intended playback platform.
Tips and Best Practices for Blurring Faces or Objects
- Use Keyframes for Animation: If the faces or objects you want to blur are in motion, use keyframes to animate the position and size of the masks over time. This ensures that the blur remains accurately applied to the moving subjects throughout the footage.
- Experiment with Feathering: Adjust the feathering properties of the masks to create a smooth transition between the blurred and unblurred areas. Increasing the feathering value helps blend the edges of the mask more naturally with the surrounding footage.
- Consider Mosaic Effect for Creative Blur: In addition to Gaussian Blur, consider using the Mosaic effect in Adobe Premiere Pro to create a pixelated or mosaic-style blur effect. This effect can be useful for stylized or creative blurring applications.
- Use Adjustment Layers for Global Effects: If you need to apply the same blurring effect to multiple clips or layers, consider using adjustment layers in Adobe Premiere Pro. This allows you to apply the blurring effect to multiple layers simultaneously, streamlining your editing workflow.
- Maintain Consistency: Maintain consistency in the blurring effect throughout your project to ensure visual coherence. Use similar blur settings and mask properties across all instances of blurring to create a seamless viewing experience for your audience.
Conclusion
Blurring faces or objects in Adobe Premiere Pro is a valuable technique that can enhance privacy, focus viewer attention, or achieve creative visual effects. By following the steps outlined in this guide and embracing best practices, you’ll be well-equipped to leverage the full potential of blurring effects to enhance the privacy and visual appeal of your video projects. Whether you’re anonymizing sensitive footage, directing focus within a scene, or adding artistic flair to your videos, Adobe Premiere Pro provides the tools and capabilities you need to achieve professional-quality results. So, dive in, experiment fearlessly, and let blurring effects be your ally in the pursuit of impactful and engaging video editing.