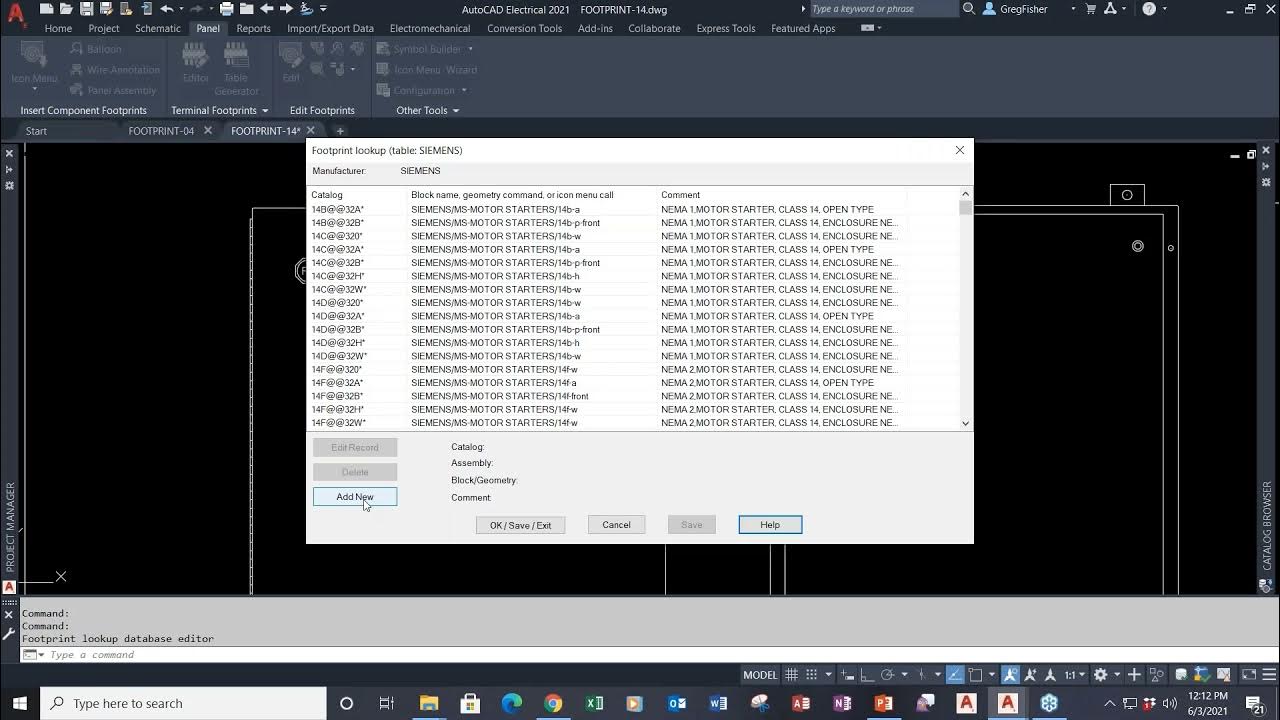
Inserting panel components is a fundamental step in the process of designing electrical control panels using Autodesk Electrical. Precise placement of components ensures efficient use of space, optimal wiring configurations, and adherence to safety standards. In this exhaustive guide, we will explore the intricate process of inserting panel components in Autodesk Electrical, providing detailed instructions, best practices, and expert tips to help you master this essential aspect of electrical design.
Understanding the Role of Panel Components
Panel components serve as building blocks for electrical control panels, encompassing a wide range of devices and equipment essential for controlling and protecting electrical circuits. The role of panel components extends beyond mere functionality to encompass safety, reliability, and efficiency within electrical systems:
- Functionality: Each panel component performs a specific function within the electrical system, such as switching, protection, monitoring, or control.
- Safety and Protection: Components such as circuit breakers, fuses, and surge protectors safeguard electrical circuits against overloads, short circuits, and other electrical faults.
- Efficiency and Optimization: Proper selection and placement of panel components optimize the performance and efficiency of electrical systems, minimizing downtime and maximizing productivity.
Inserting Panel Components in Autodesk Electrical
Now, let’s delve into the step-by-step process of inserting panel components within Autodesk Electrical:
Step 1: Access Panel Component Library
- Component Browser: Navigate to the component browser within Autodesk Electrical to access the extensive library of panel components.
- Filtering Options: Utilize filtering options to narrow down the selection of components based on categories such as manufacturer, function, or type.
Step 2: Select Desired Component
- Browse or Search: Browse through the component library or use the search function to locate the desired panel component.
- Preview: Review component specifications, dimensions, and other details before insertion.
Step 3: Insert Component into Drawing
- Drag-and-Drop: Click and drag the selected component from the component browser onto the drawing canvas.
- Placement: Position the component within the drawing area according to the desired location and orientation.
Step 4: Customize Component Properties
- Properties Editor: Access the properties editor to customize component properties such as size, color, voltage rating, and mounting options.
- Specification Compliance: Ensure that selected components comply with project specifications, standards, and regulatory requirements.
Best Practices for Inserting Panel Components
To optimize the process of inserting panel components in Autodesk Electrical, consider the following best practices:
Planning and Preparation
- Define Requirements: Clearly define the requirements and specifications for panel components based on project objectives, electrical loads, and system architecture.
- Layout Considerations: Consider spatial constraints, wiring configurations, and accessibility requirements when selecting and placing panel components.
Standardization and Consistency
- Standard Component Library: Establish a standardized component library comprising commonly used components to ensure consistency and streamline the insertion process.
- Naming Conventions: Adopt consistent naming conventions for panel components to facilitate organization, searchability, and future reference.
Collaboration and Documentation
- Collaborative Review: Collaborate with team members, engineers, and stakeholders to review component selections and placements, ensuring alignment with project goals and requirements.
- Documentation: Document component selections, specifications, and placements systematically to maintain a comprehensive record of the design process.
Conclusion
Mastering the art of inserting panel components in Autodesk Electrical is essential for creating efficient, reliable, and compliant electrical control panels. By following the steps outlined in this guide and adhering to best practices, you can streamline the process of component insertion, optimize panel layouts, and ensure the success of your electrical design projects. Whether you’re designing control panels for industrial automation, building management systems, or power distribution networks, proficiency in inserting panel components will empower you to deliver superior results and exceed client expectations.