Introduction:
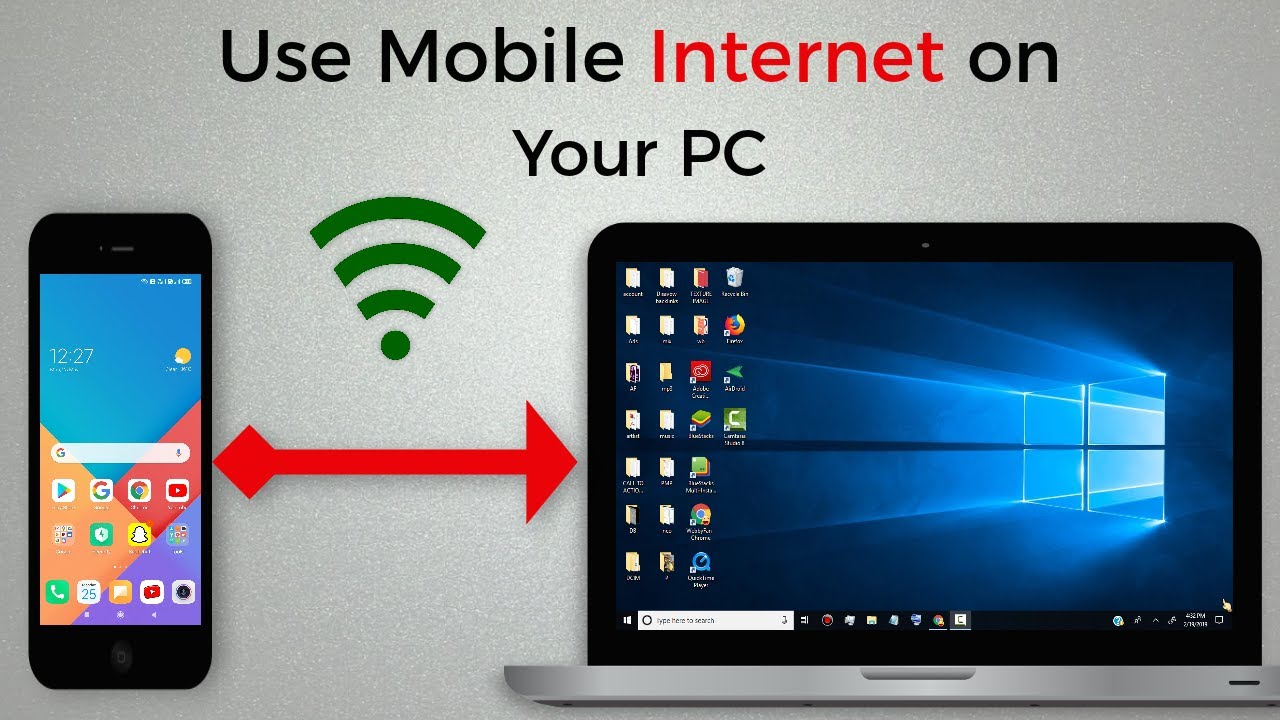
In today’s interconnected world, staying online is essential, and the ability to share your internet connection becomes a valuable asset. Transforming your laptop into a mobile Wi-Fi hotspot allows you to extend internet access to other devices, creating a portable network on the go. This comprehensive guide explores the step-by-step process of turning your laptop into a Wi-Fi hotspot, catering to both Windows and macOS users, and offers insights into optimizing the hotspot for secure and efficient connectivity.
Section 1: Understanding the Basics of Mobile Hotspots
1.1 What is a Mobile Wi-Fi Hotspot:
- A mobile Wi-Fi hotspot is a feature that allows a device, like a laptop, to share its internet connection with other devices over Wi-Fi. This capability is particularly useful when you have a single internet source, such as a wired or cellular connection, and want to provide connectivity to multiple devices simultaneously.
1.2 Benefits of Using Your Laptop as a Hotspot:
- Turning your laptop into a mobile hotspot provides flexibility and convenience. It’s an excellent solution when you’re in a location without Wi-Fi but have an active internet connection on your laptop. This capability proves invaluable for business travelers, students, and anyone needing a reliable internet connection on multiple devices.
Section 2: Creating a Wi-Fi Hotspot on Windows
2.1 Checking Network Compatibility:
- Ensure your laptop’s network adapter supports the creation of a Wi-Fi hotspot. Most modern laptops have this capability, but it’s essential to verify compatibility.
2.2 Enabling Mobile Hotspot:
- Open the Settings menu on your Windows laptop, navigate to “Network & Internet,” and select the “Mobile hotspot” tab. Turn on the “Share my Internet connection with other devices” option.
2.3 Configuring Hotspot Settings:
- Customize your hotspot settings by clicking on “Edit” under the network name and password. Choose a network name (SSID) and set a secure password to protect your hotspot.
2.4 Activating the Hotspot:
- Toggle the switch to turn on the mobile hotspot. Once activated, your laptop becomes a Wi-Fi access point, and other devices can connect to it using the provided credentials.
2.5 Monitoring Hotspot Usage:
- Windows provides tools to monitor hotspot usage. Check the number of connected devices, data usage, and manage connected devices through the hotspot settings.
Section 3: Creating a Wi-Fi Hotspot on macOS
3.1 Checking Network Compatibility:
- Confirm that your MacBook or MacBook Pro supports the creation of a Wi-Fi hotspot. Most recent macOS versions have this feature, ensuring broad compatibility.
3.2 Enabling Internet Sharing:
- Open the Apple menu, go to “System Preferences,” and select “Sharing.” In the Sharing menu, choose “Internet Sharing” from the left sidebar.
3.3 Configuring Hotspot Settings:
- In the Internet Sharing section, select the internet source (e.g., Ethernet or Wi-Fi) from the “Share your connection from” dropdown menu. Enable “Wi-Fi” in the “To computers using” box and click on “Wi-Fi Options” to set your hotspot’s network name and password.
3.4 Activating the Hotspot:
- Check the box next to “Internet Sharing” to enable the Wi-Fi hotspot. Your MacBook now functions as a Wi-Fi hotspot, allowing other devices to connect using the specified credentials.
3.5 Monitoring Hotspot Usage:
- Monitor connected devices and manage your Wi-Fi hotspot through the “Sharing” menu. Keep an eye on data usage and adjust settings as needed.
Section 4: Optimizing Hotspot Security
4.1 Using a Strong Password:
- Always set a strong and unique password for your Wi-Fi hotspot. This ensures that unauthorized users cannot access your network.
4.2 Enabling WPA2 or WPA3 Security:
- Choose the highest available security protocol, such as WPA2 or WPA3, to encrypt the data transmitted over your hotspot. This adds an extra layer of protection against potential threats.
4.3 Limiting Connected Devices:
- Some operating systems allow you to limit the number of devices that can connect to your hotspot. Consider setting this limit to manage bandwidth and maintain a stable connection.
4.4 Regularly Updating Hotspot Password:
- For added security, consider changing your hotspot password regularly, especially if you frequently share your internet connection in public spaces.
Section 5: Troubleshooting Common Hotspot Issues
5.1 Connection Drops:
- If devices frequently disconnect, check for interference from other Wi-Fi networks or electronic devices. Adjust your hotspot’s channel settings to minimize interference.
5.2 Limited Range:
- Ensure that your laptop is in a central location to maximize Wi-Fi coverage. If possible, avoid physical obstructions and interference from walls or large objects.
5.3 Slow Internet Speeds:
- If you experience slow speeds, check your internet connection’s bandwidth. Limit the number of connected devices or consider upgrading your internet plan for improved performance.
5.4 Hotspot Not Detected:
- If other devices can’t detect your hotspot, ensure that the Wi-Fi adapter on your laptop is enabled. Restarting the hotspot or your laptop may also resolve detection issues.
Conclusion:
Transforming your laptop into a mobile Wi-Fi hotspot is a practical solution for on-the-go connectivity. Whether you’re in a coffee shop, hotel, or any location without Wi-Fi access, this capability ensures that your devices stay connected using your laptop’s internet connection. By following the step-by-step instructions outlined in this comprehensive guide, users can confidently navigate the process of creating and optimizing a Wi-Fi hotspot on both Windows and macOS platforms. Welcome to a world where your laptop not only serves as your personal device but also as a gateway to a seamless and portable internet experience for all your connected devices.