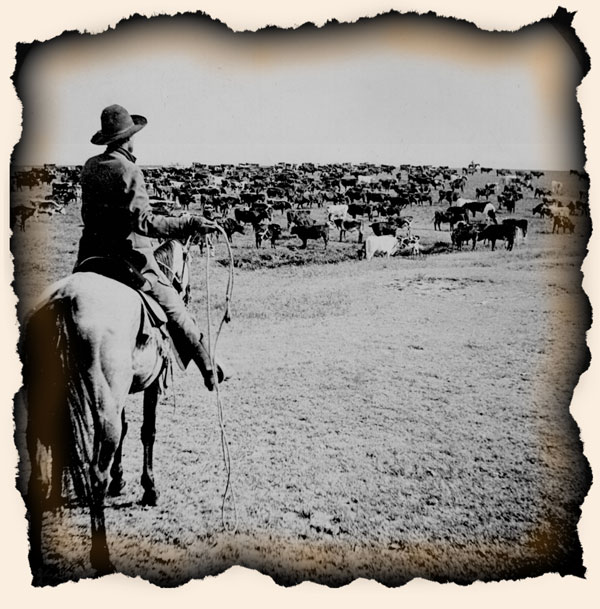
Introduction:
The burnt edge effect is a captivating artistic technique that adds a touch of drama and vintage charm to your digital creations. Whether you’re looking to evoke a sense of nostalgia or infuse your images with an edgy and weathered vibe, this comprehensive guide will walk you through the intricate steps of creating a burnt edge effect in Adobe Photoshop. Join us on this journey as we explore the tools, techniques, and creative nuances that will empower you to master this distinctive and visually striking aesthetic.
Section 1: Setting the Creative Stage
Before diving into the technicalities, open Adobe Photoshop and import the image you wish to transform with a burnt edge effect. Select an image with distinct features, textures, and a suitable composition to enhance the impact of the weathered and burnt appearance.
Section 2: Establishing the Base Layer
To begin the transformation, duplicate the background layer. This duplicated layer will serve as the base for applying the burnt edge effect while preserving the original image for reference or further adjustments.
Section 3: Creating the Burnt Edge Effect
Step 1: Selecting the Burn Tool
Navigate to the toolbar and select the Burn Tool, which is designed to darken specific areas of an image. Adjust the brush size and hardness based on the level of detail in your image. The Burn Tool will act as the primary tool for crafting the burnt edges.
Step 2: Applying Burn Effect to Edges
Carefully apply the Burn Tool along the edges of your duplicated layer. Focus on creating uneven and irregular burnt patterns to emulate the organic and unpredictable nature of real-world burn marks. Experiment with different brush sizes to achieve varying degrees of intensity.
Step 3: Introducing Textures and Gradients
To enhance the realism of the burnt edge effect, consider incorporating textures and gradients. Create a new layer and apply a texture overlay or a gradient that complements the burnt appearance. Adjust the blending mode and opacity to seamlessly integrate these elements into the overall composition.
Step 4: Emulating Charred Detail
Zoom in on the burnt edges and use a small, soft brush to add charred details. Mimic the appearance of burnt and cracked surfaces by carefully applying dark strokes along the edges. This step adds depth and authenticity to the burnt edge effect.
Section 4: Adjusting Color and Saturation
To further enhance the burnt edge effect, manipulate the color and saturation of the image. Create adjustment layers such as Hue/Saturation and Color Balance to tailor the overall color tone to match the burnt aesthetic. Experiment with warm tones, desaturation, or selective color adjustments to achieve the desired visual impact.
Section 5: Introducing Smoke and Embers
For an extra layer of drama, consider adding smoke or ember effects to your burnt edges. Create new layers and use brushes or custom shapes to paint wisps of smoke or glowing embers. Adjust the opacity and blending modes to seamlessly integrate these elements, contributing to the overall immersive experience.
Section 6: Applying Filter Effects
Experiment with filter effects to enhance the burnt edge aesthetic. Filters like Noise, Grain, or even Lens Flare can add a subtle layer of realism and complexity to your composition. Adjust the intensity and placement of these filters to achieve a cohesive and visually appealing result.
Section 7: Incorporating Vintage Elements
To amplify the vintage charm of the burnt edge effect, consider incorporating additional elements associated with aged or distressed imagery. This may include scratches, stains, or subtle vignettes. Use brushes, textures, or overlays to introduce these vintage elements, contributing to the overall narrative of your composition.
Section 8: Balancing Intensity and Subtlety
Achieving the perfect balance between intensity and subtlety is crucial for a convincing burnt edge effect. Regularly zoom out to assess the overall impact and ensure that the burnt edges enhance the image without overpowering the main subject. Adjust layer opacities and blending modes as needed to strike the right balance.
Section 9: Adding Depth with Shadows
To enhance the three-dimensional illusion of burnt edges, introduce subtle shadow effects. Create a new layer below the burnt edge layer and use a soft brush to paint shadows along the burnt areas. Adjust the opacity and blending mode to create a natural and immersive depth.
Section 10: Iterating and Fine-Tuning
As you approach the final stages of your burnt edge creation, take the time to iterate and fine-tune details. Experiment with different adjustments, layer styles, and additional elements to refine the overall composition. Regularly step back and evaluate the impact, ensuring that every aspect aligns with your creative vision.
Section 11: Saving and Showcasing Your Burnt Edge Masterpiece
Once satisfied with your burnt edge effect, save your masterpiece. Consider creating different versions with varying levels of intensity or additional elements for a diverse portfolio. Share your burnt edge creation on digital platforms, social media, or incorporate it into your artistic portfolio to showcase your mastery of this distinctive and visually compelling aesthetic.
Conclusion:
The burnt edge effect in Photoshop is a powerful artistic tool that allows you to infuse your images with drama, nostalgia, and a touch of weathered beauty. This comprehensive guide has provided a detailed roadmap for navigating the intricacies of creating burnt edges, from establishing the base layer to fine-tuning and showcasing the final masterpiece. As you embark on your journey to master this distinctive aesthetic, let your creativity ignite and breathe life into your digital creations with the captivating allure of burnt edges.